Publish to staging
Click the Launch button
Open your task in Rocket and click the Launch button in the top-right corner.
Go to the Staging tab and publish
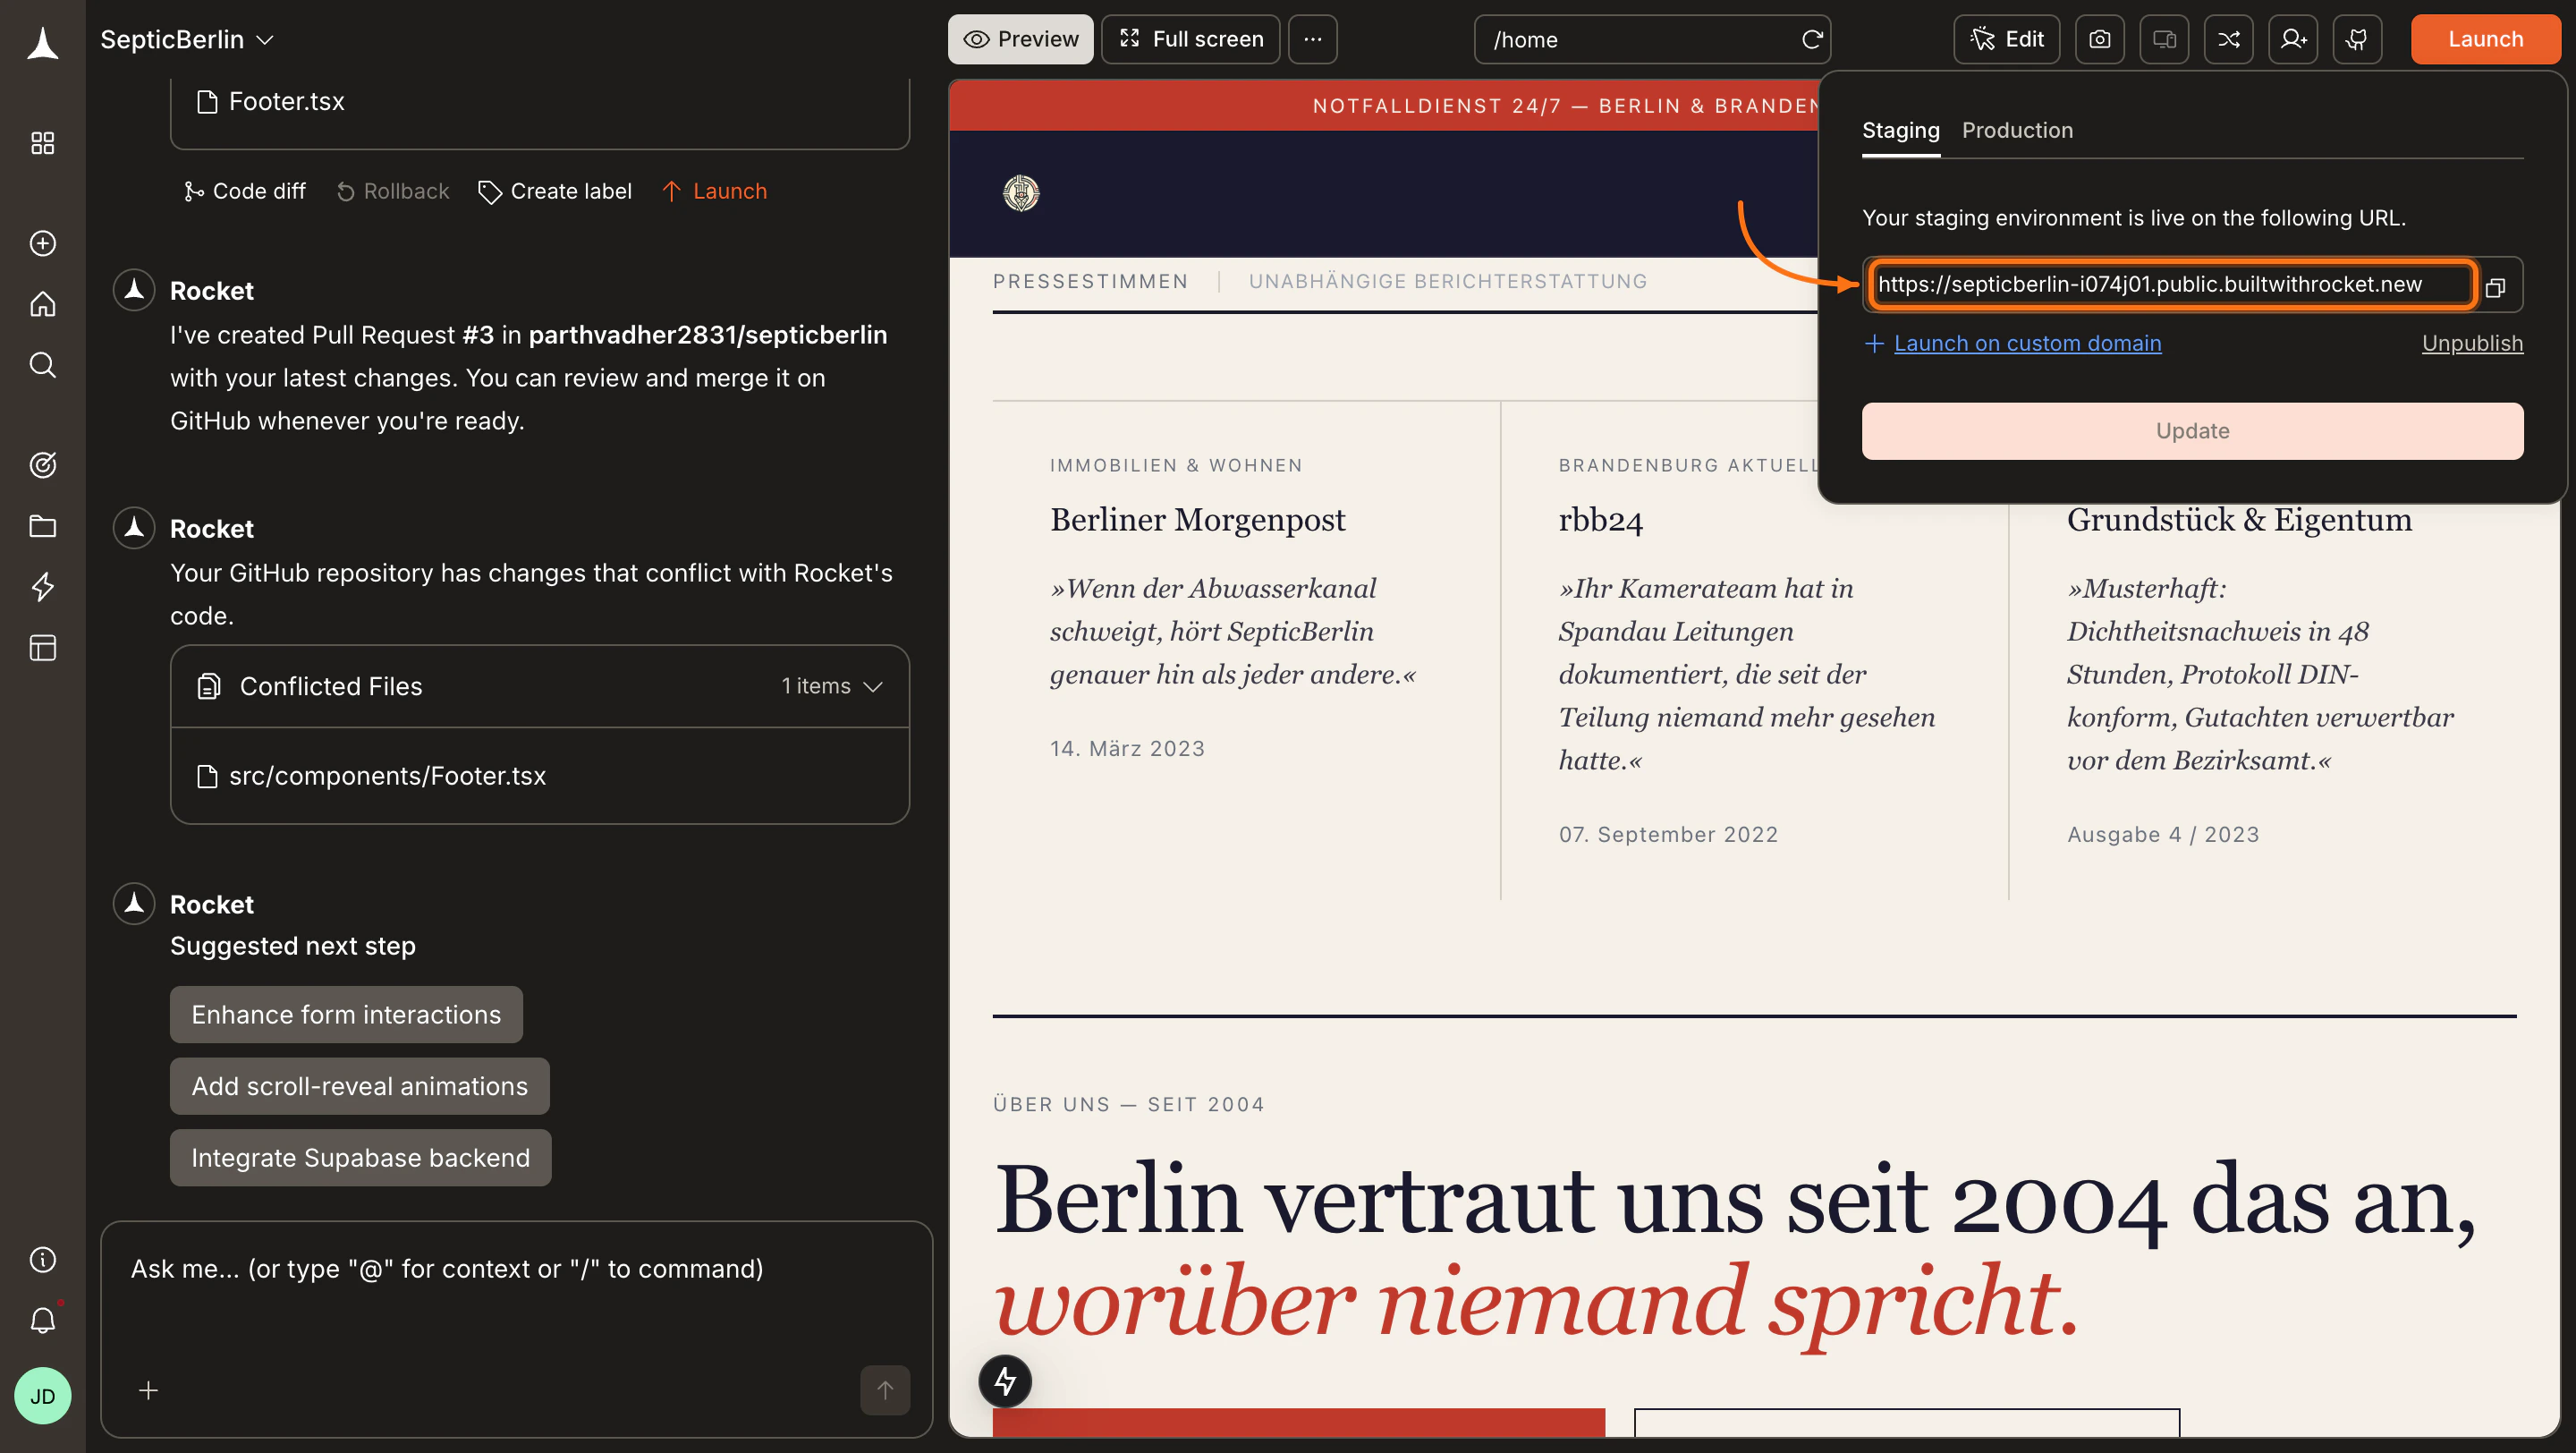
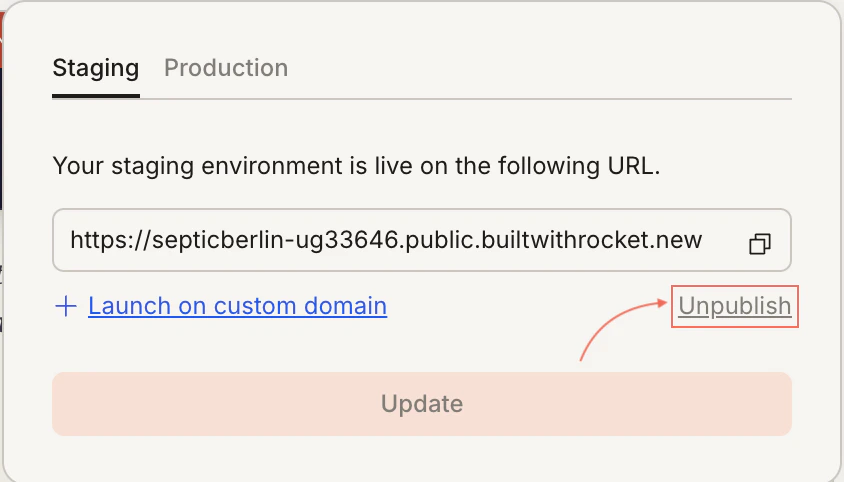
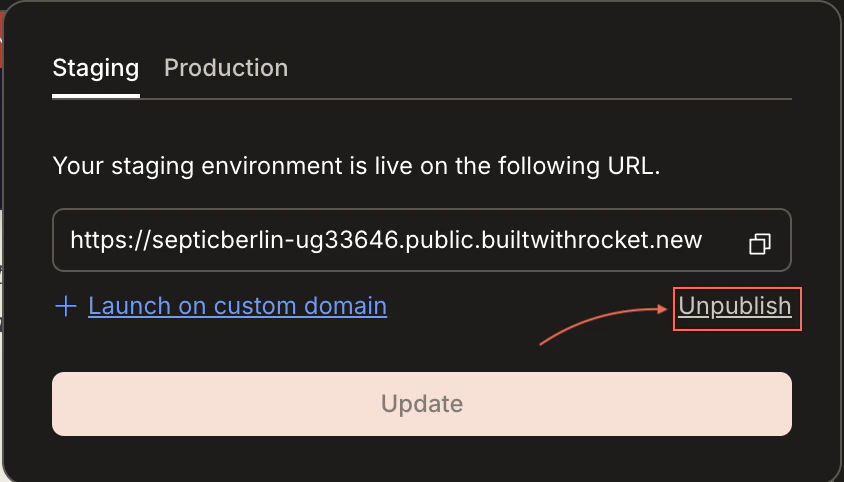
The launch dialog opens with Staging and Production tabs. Stay on Staging and click Publish.You can also connect or purchase a custom domain directly from the Staging tab. See Custom domain and Buy a domain for details.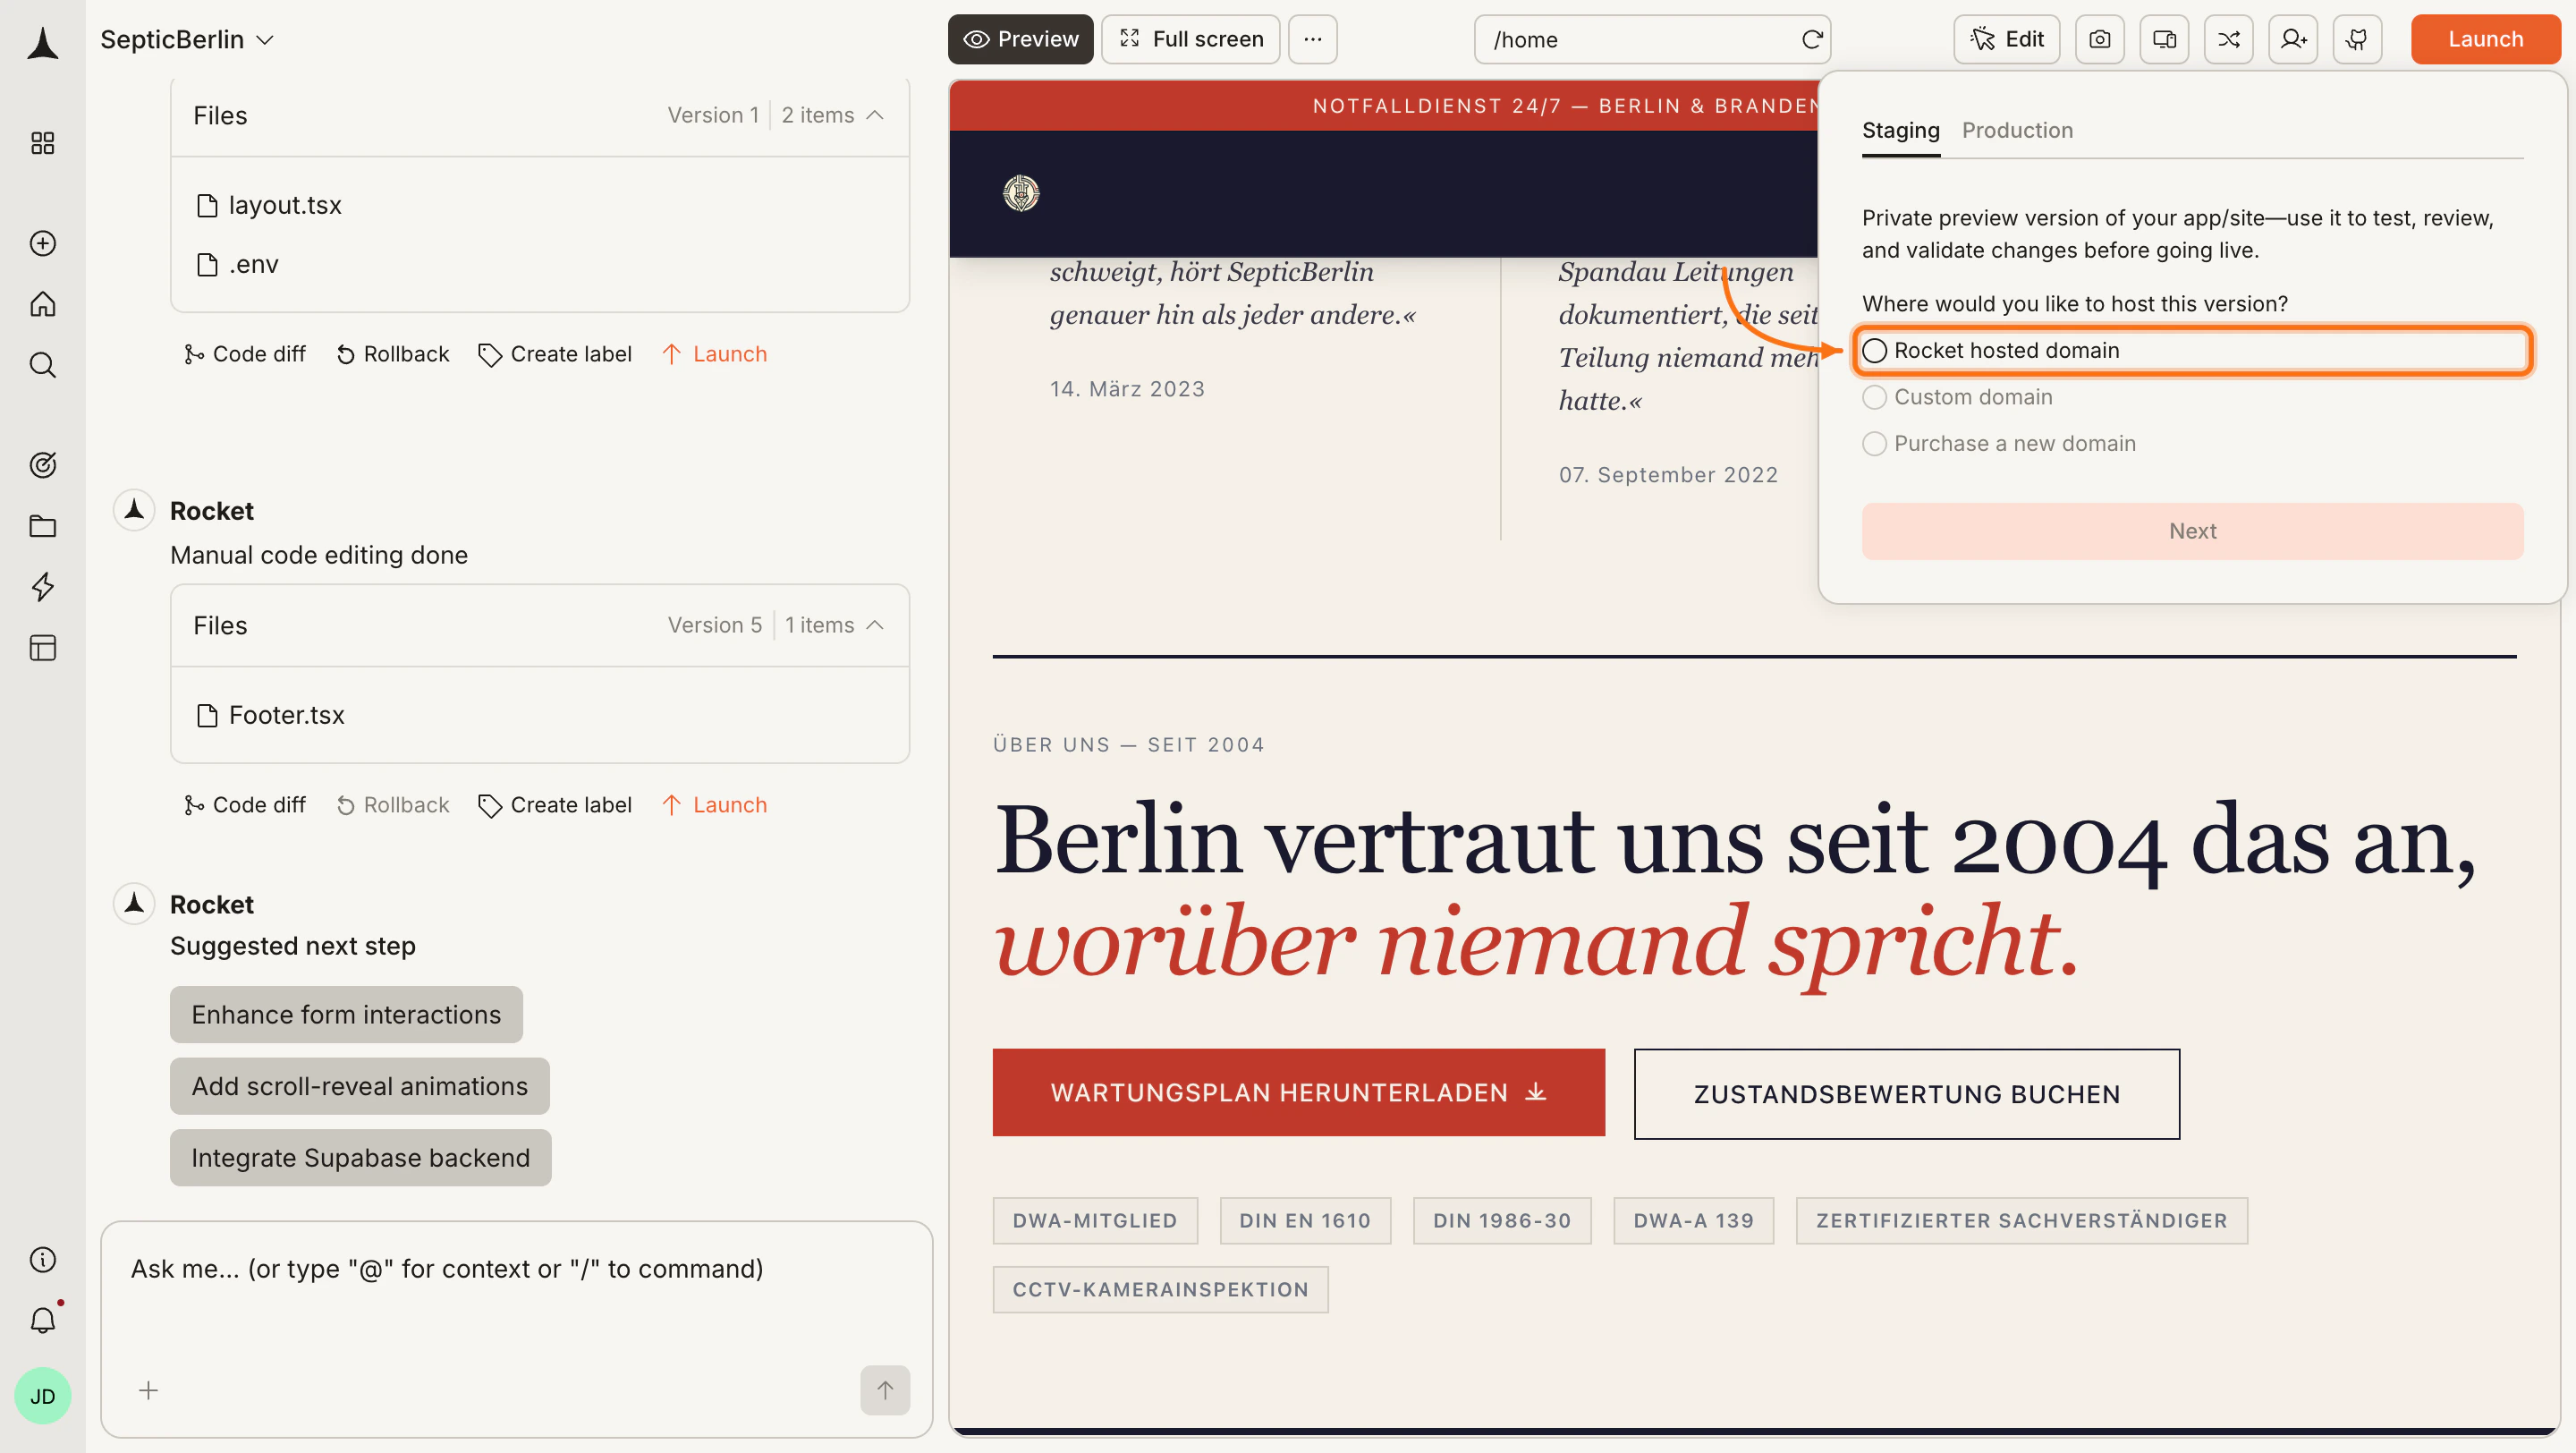
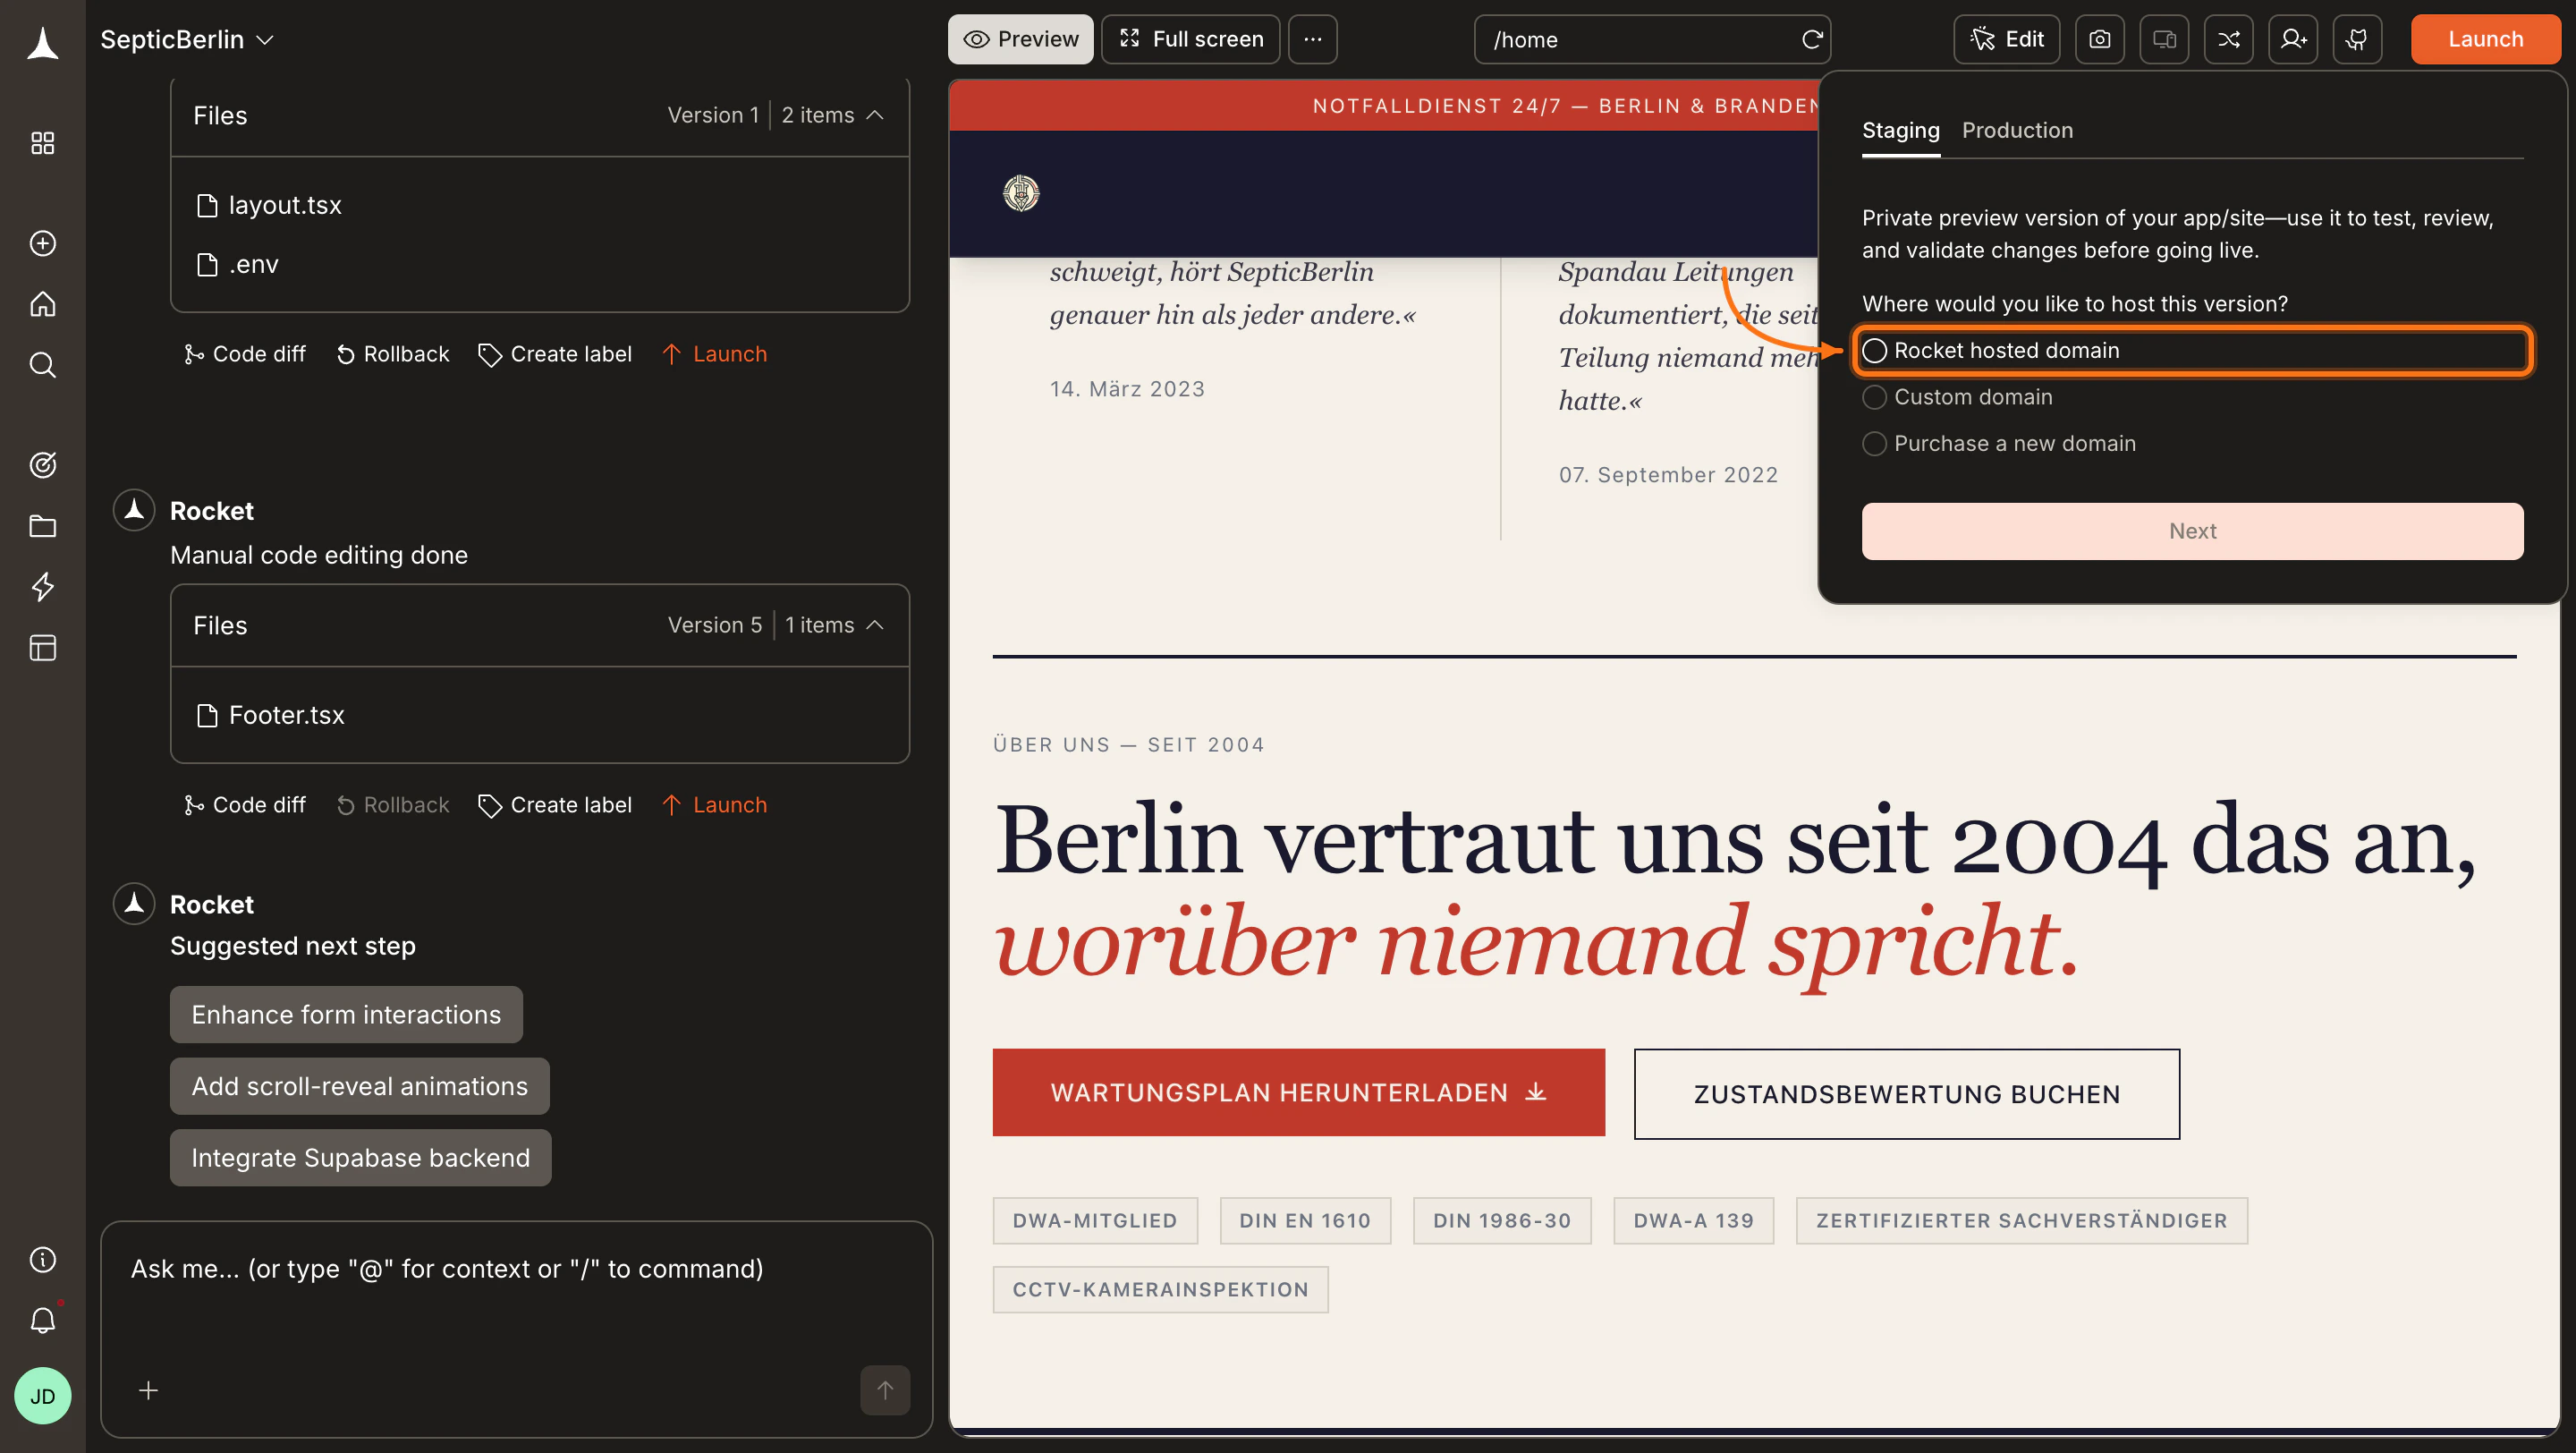
Rocket uses a default Netlify account if you have not connected your own. You can connect your Netlify account to use your own.
Your app is live on staging
When deployment finishes, you see your staging URL. Share it with teammates to collect feedback, or open it yourself to test.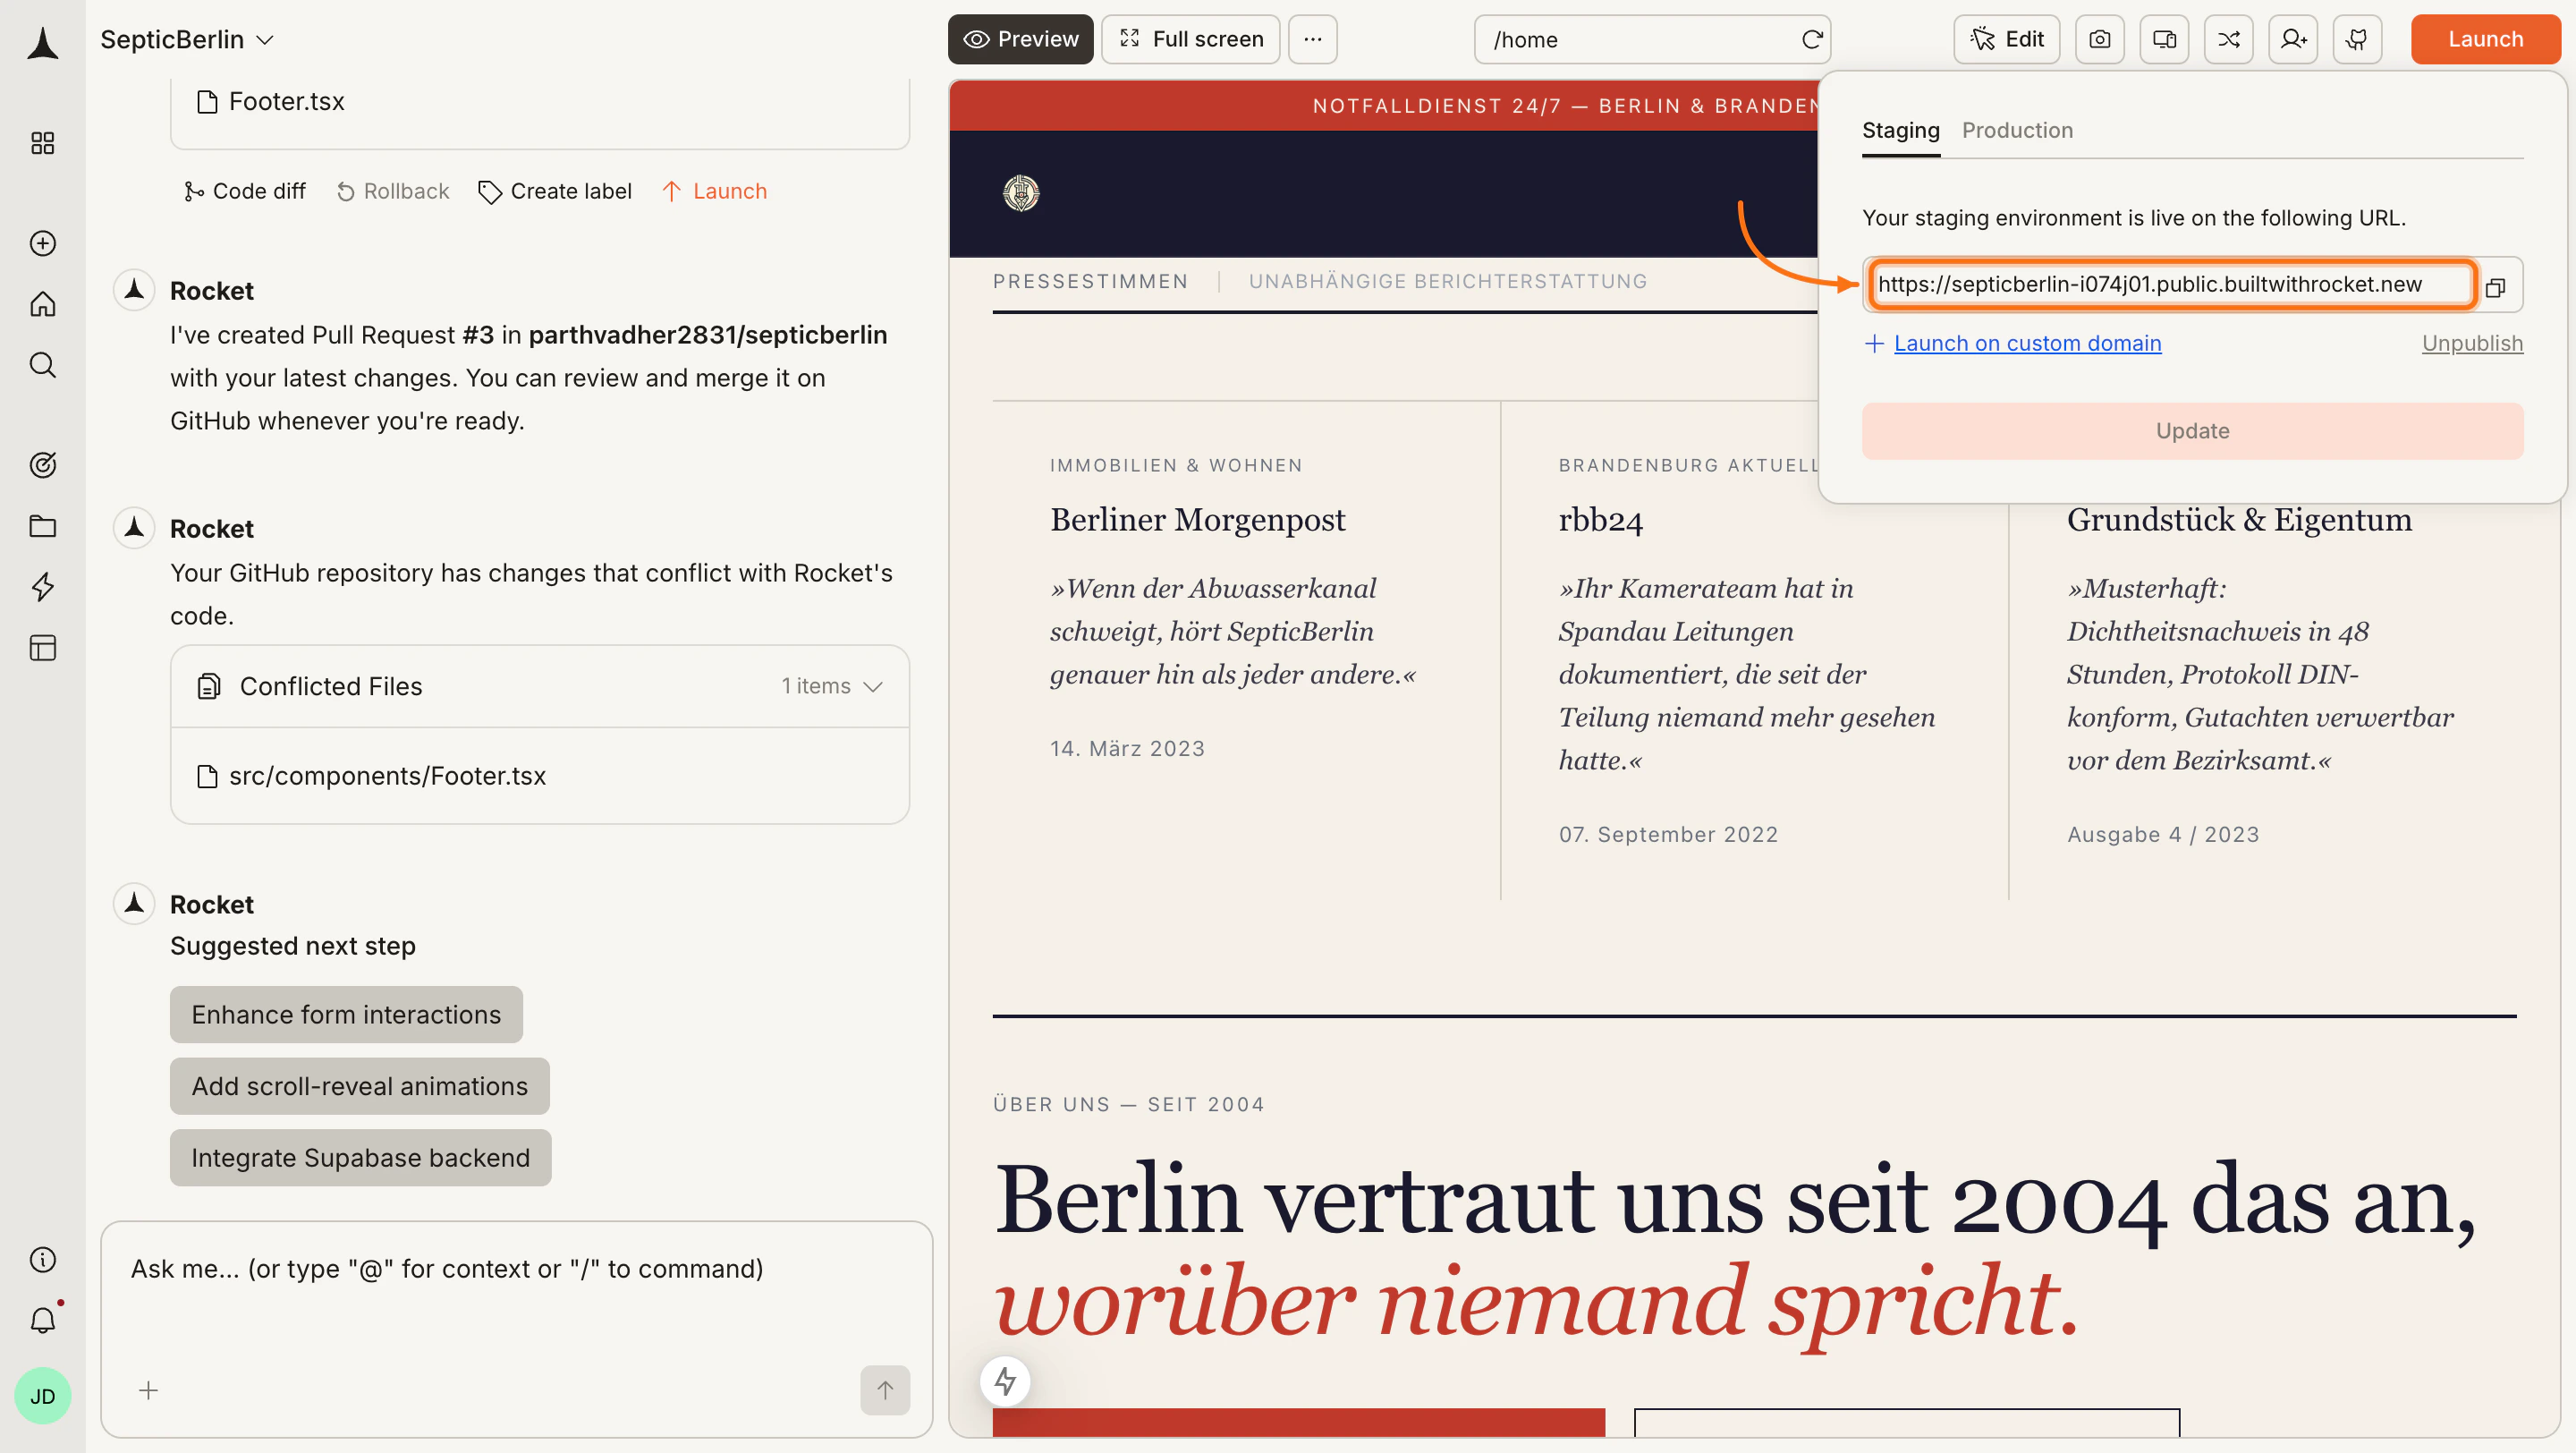
Ready to go live?
When testing is done, switch to the Production tab in the Launch dialog to connect a custom domain and publish your live app.Custom domain
Connect your own domain and publish to production.
What’s next?
SEO & discoverability
Optimize meta tags and sitemaps so search engines find your site.
Analytics
Track how users interact with your live app.