Push your Rocket code to GitHub with one click.GitHub is a code hosting platform for version control and collaboration. Connect GitHub to Rocket and push your entire project to a repository for backup, team sharing, and version tracking. Rocket handles the Git setup automatically.For most project types, GitHub integration is one-way: Rocket pushes code to GitHub. For Next.js projects, two-way sync is supported. After the initial push, the option changes to Pull from GitHub, letting you bring changes made outside Rocket back into your project.Prerequisites:
- A Rocket account at rocket.new.
- An active GitHub account.
- The Rocket mobile app on iOS (for mobile setup).
What you can use it for
Automated backups
Automated backups
Push your Rocket project to GitHub whenever you want a snapshot of your work, so you never lose progress. Open Code View, click the GitHub icon, and push.
Team collaboration
Team collaboration
Share your codebase with teammates by pushing to a shared GitHub repo. They can review, fork, or clone your code from there.
CI/CD pipelines
CI/CD pipelines
Once your code is on GitHub, connect it to CI/CD services like GitHub Actions, Vercel, or Netlify for automated builds and deployments.
Open-source portfolio
Open-source portfolio
Publish your Rocket projects as public repositories to build a developer portfolio or contribute to open source.
GitHub integration is managed entirely through the UI. Open Code View, click the GitHub icon, and follow the on-screen prompts. There are no chat commands for GitHub actions.
Detailed setup
- Web Browser
- Mobile App
Open code view and launch GitHub connection
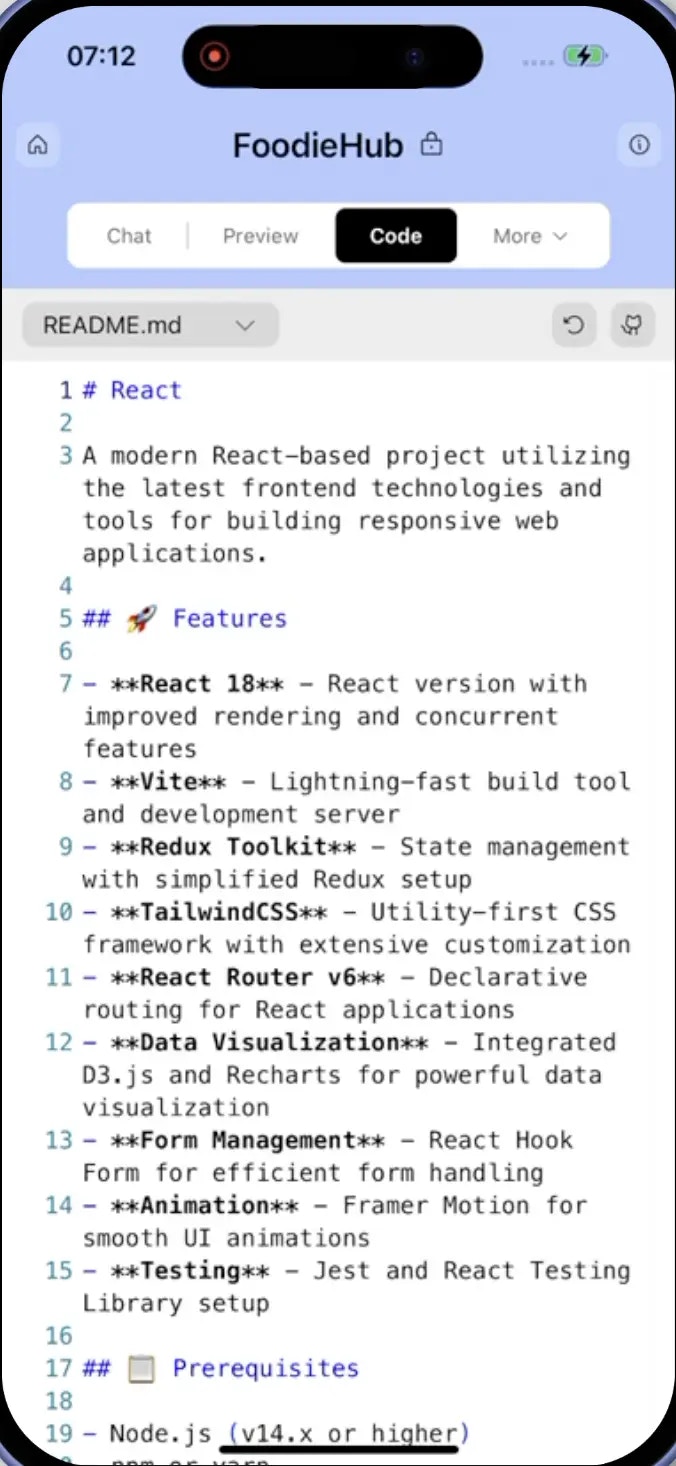
To begin the integration:- Open your project in Rocket and switch to the Code view.
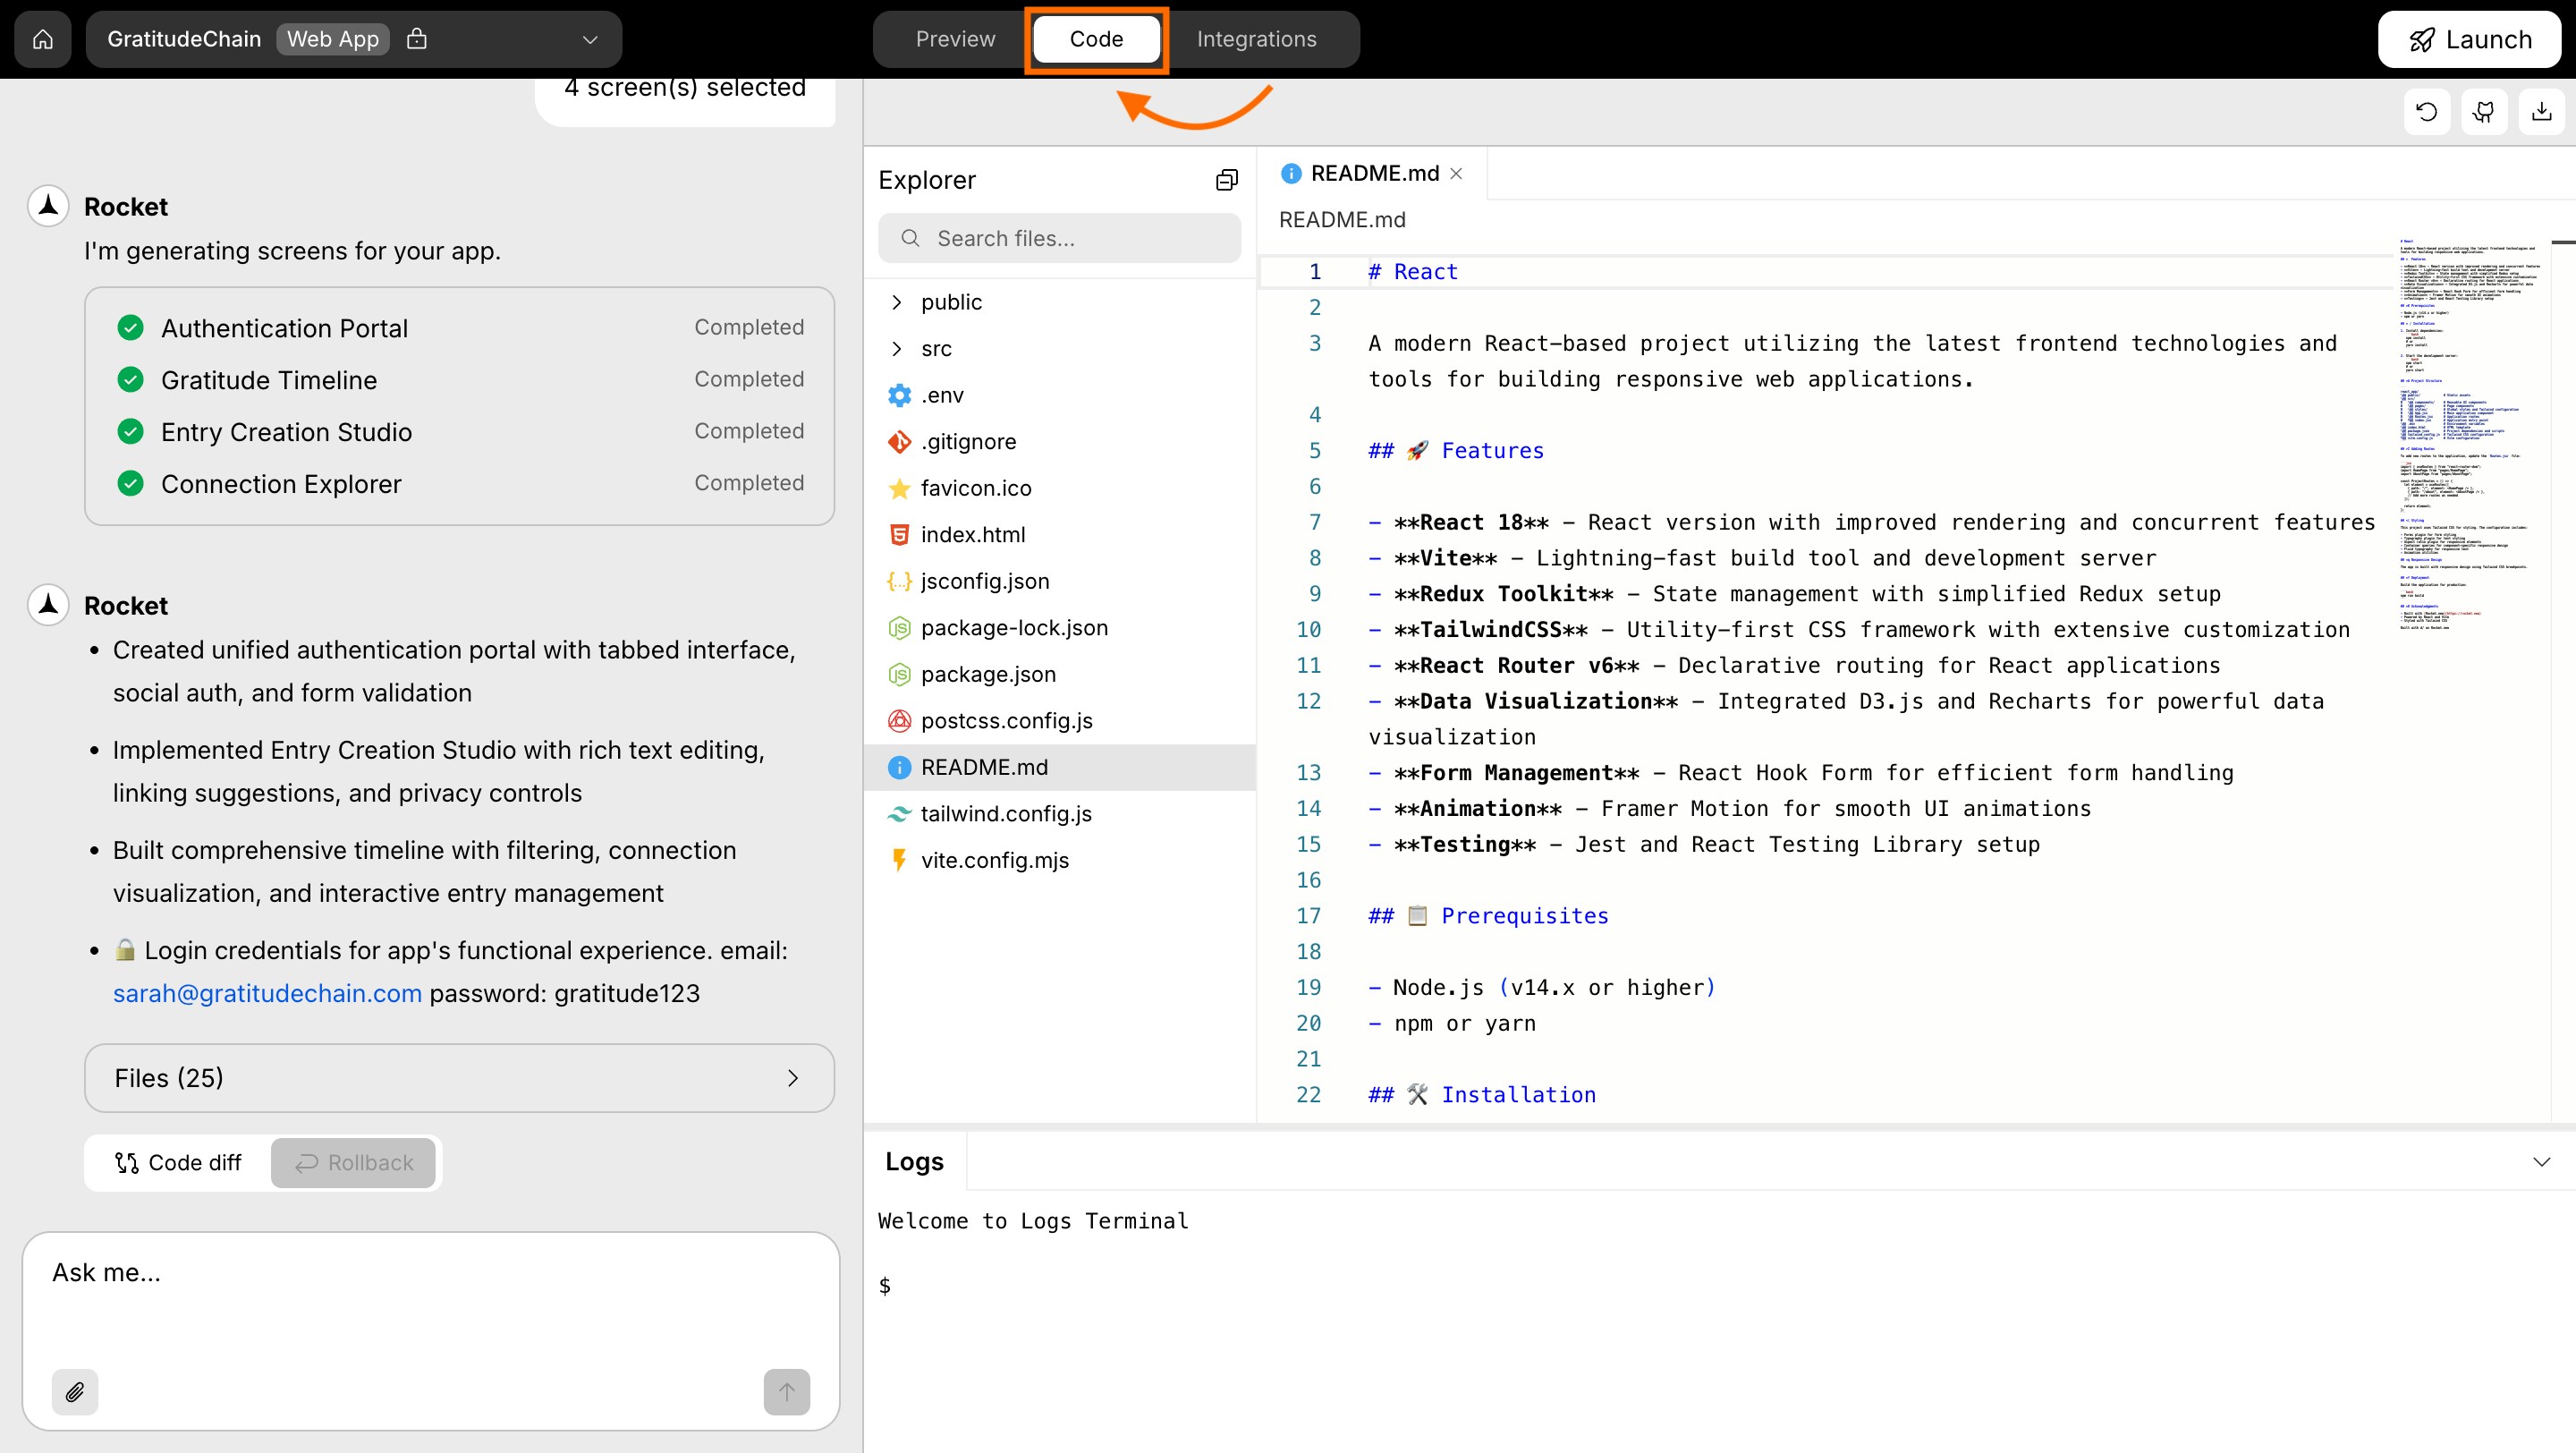
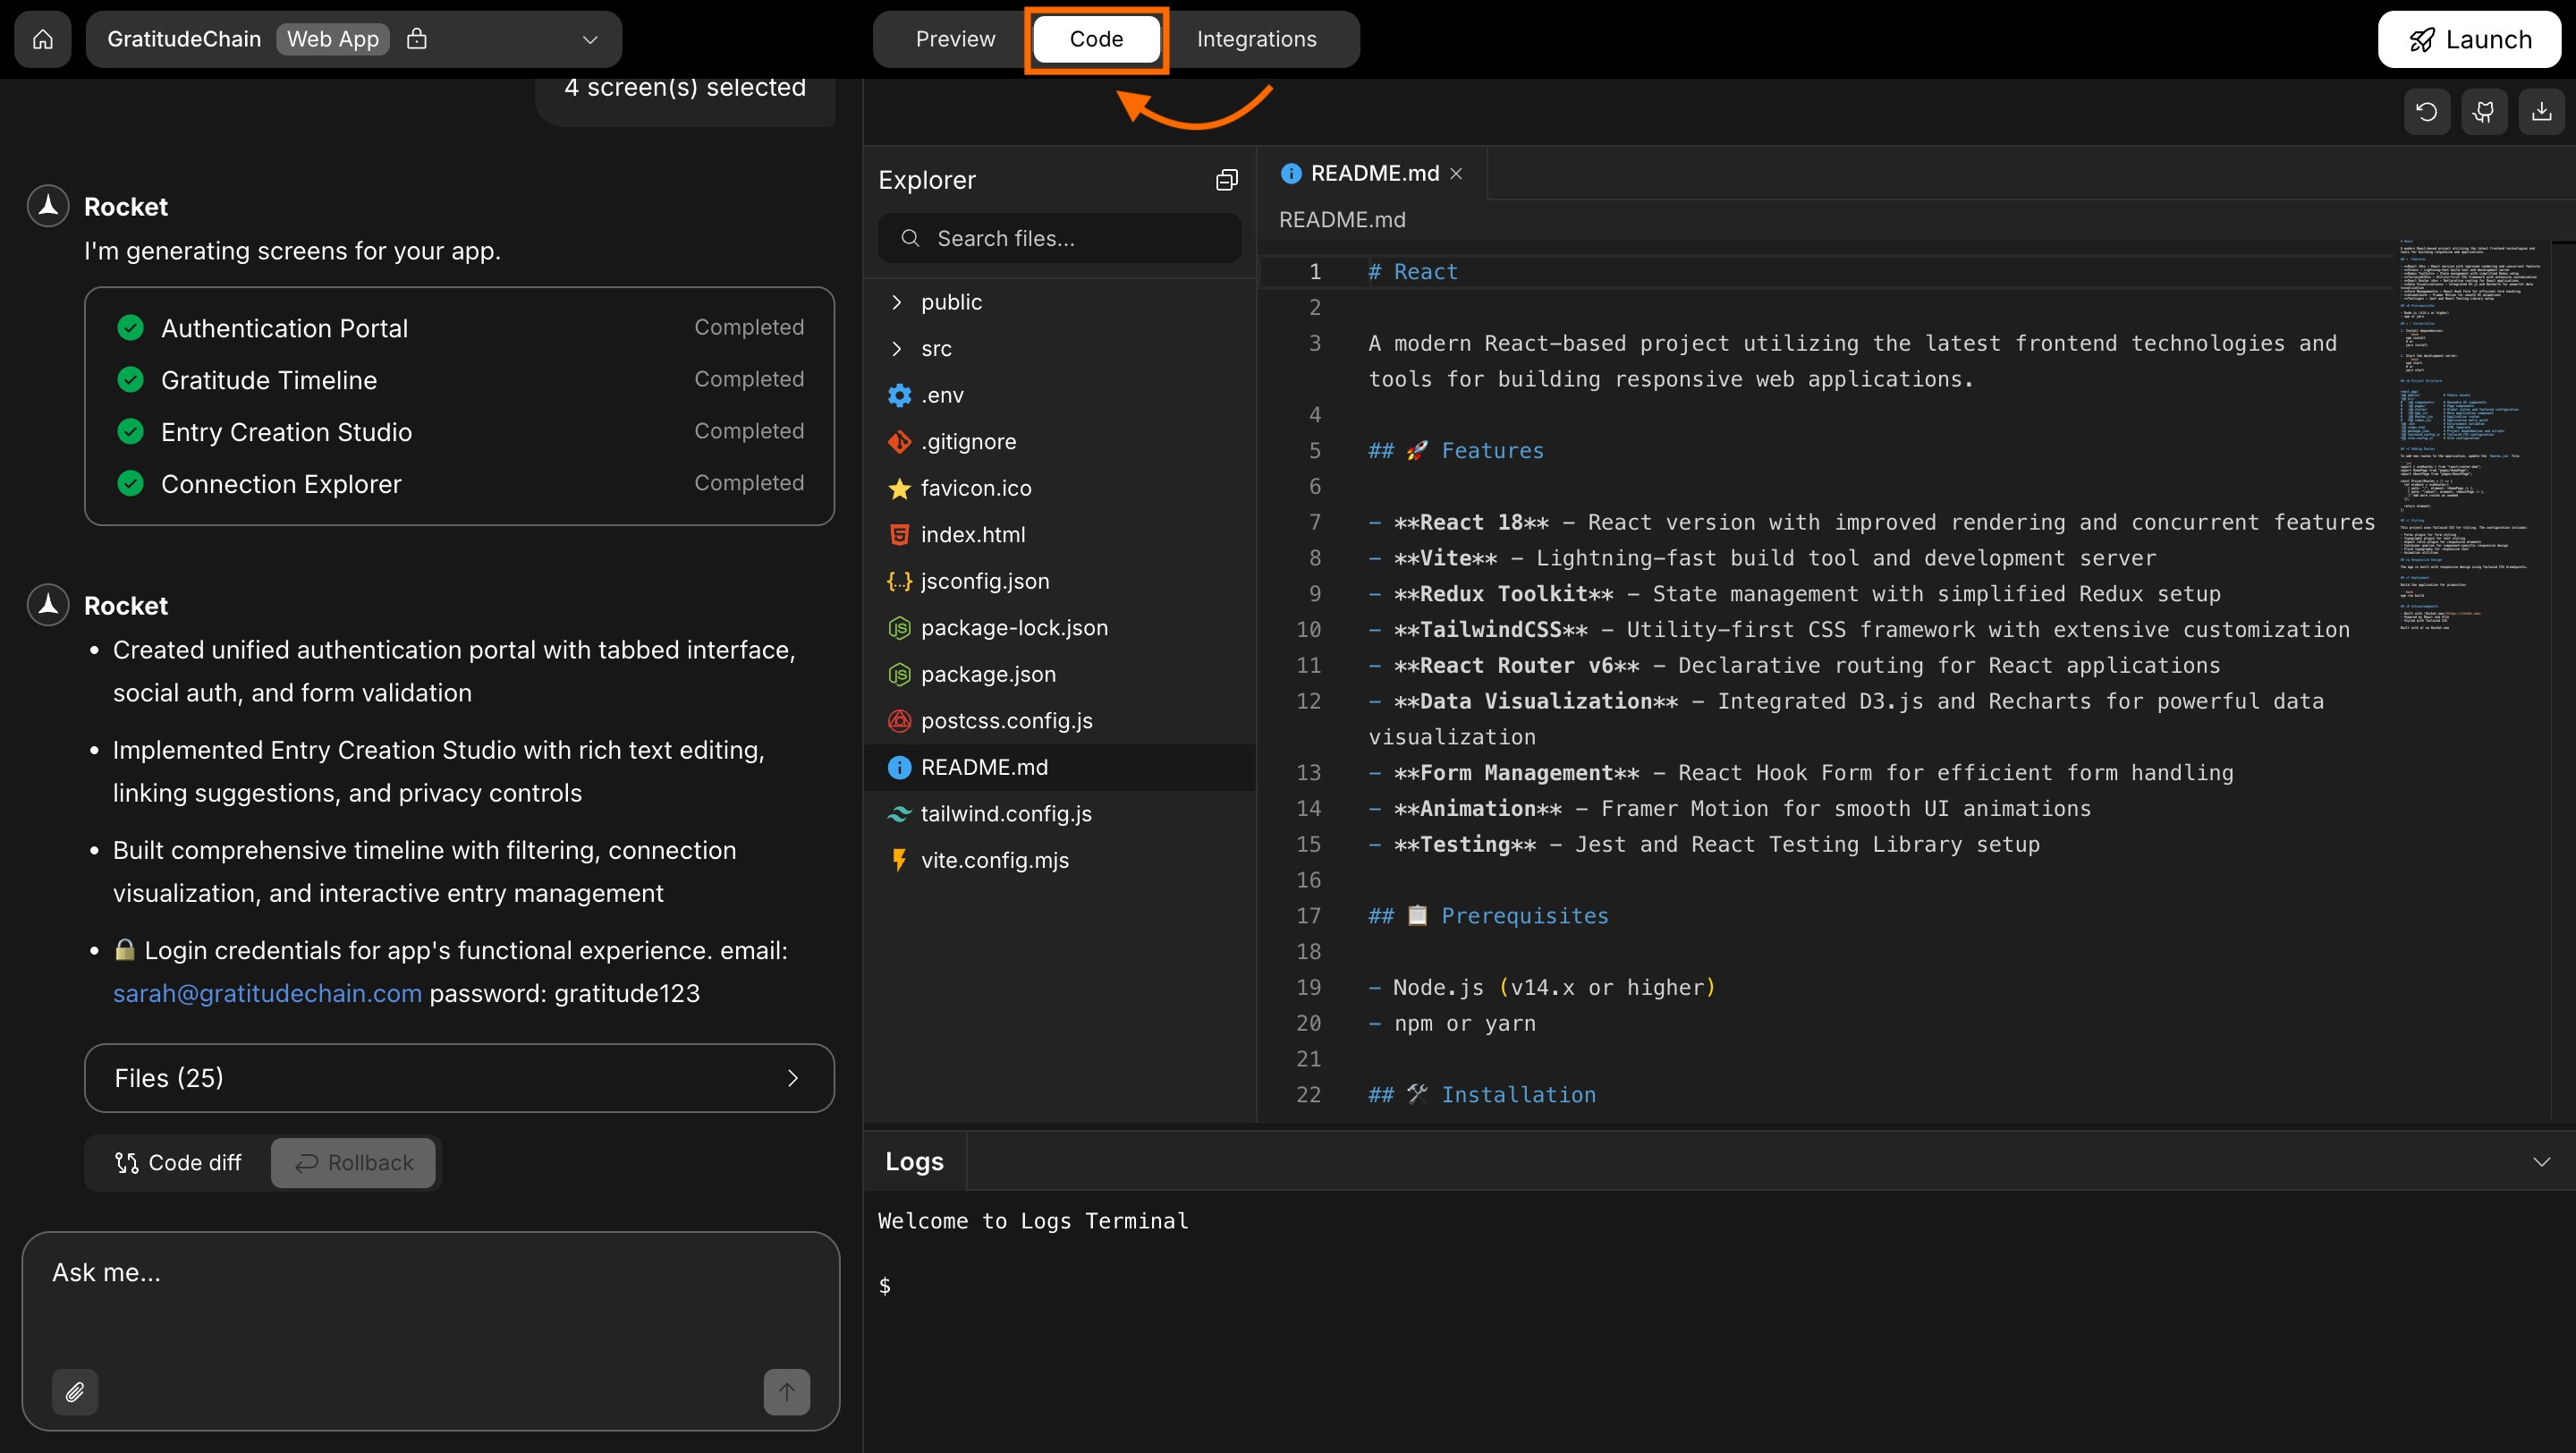
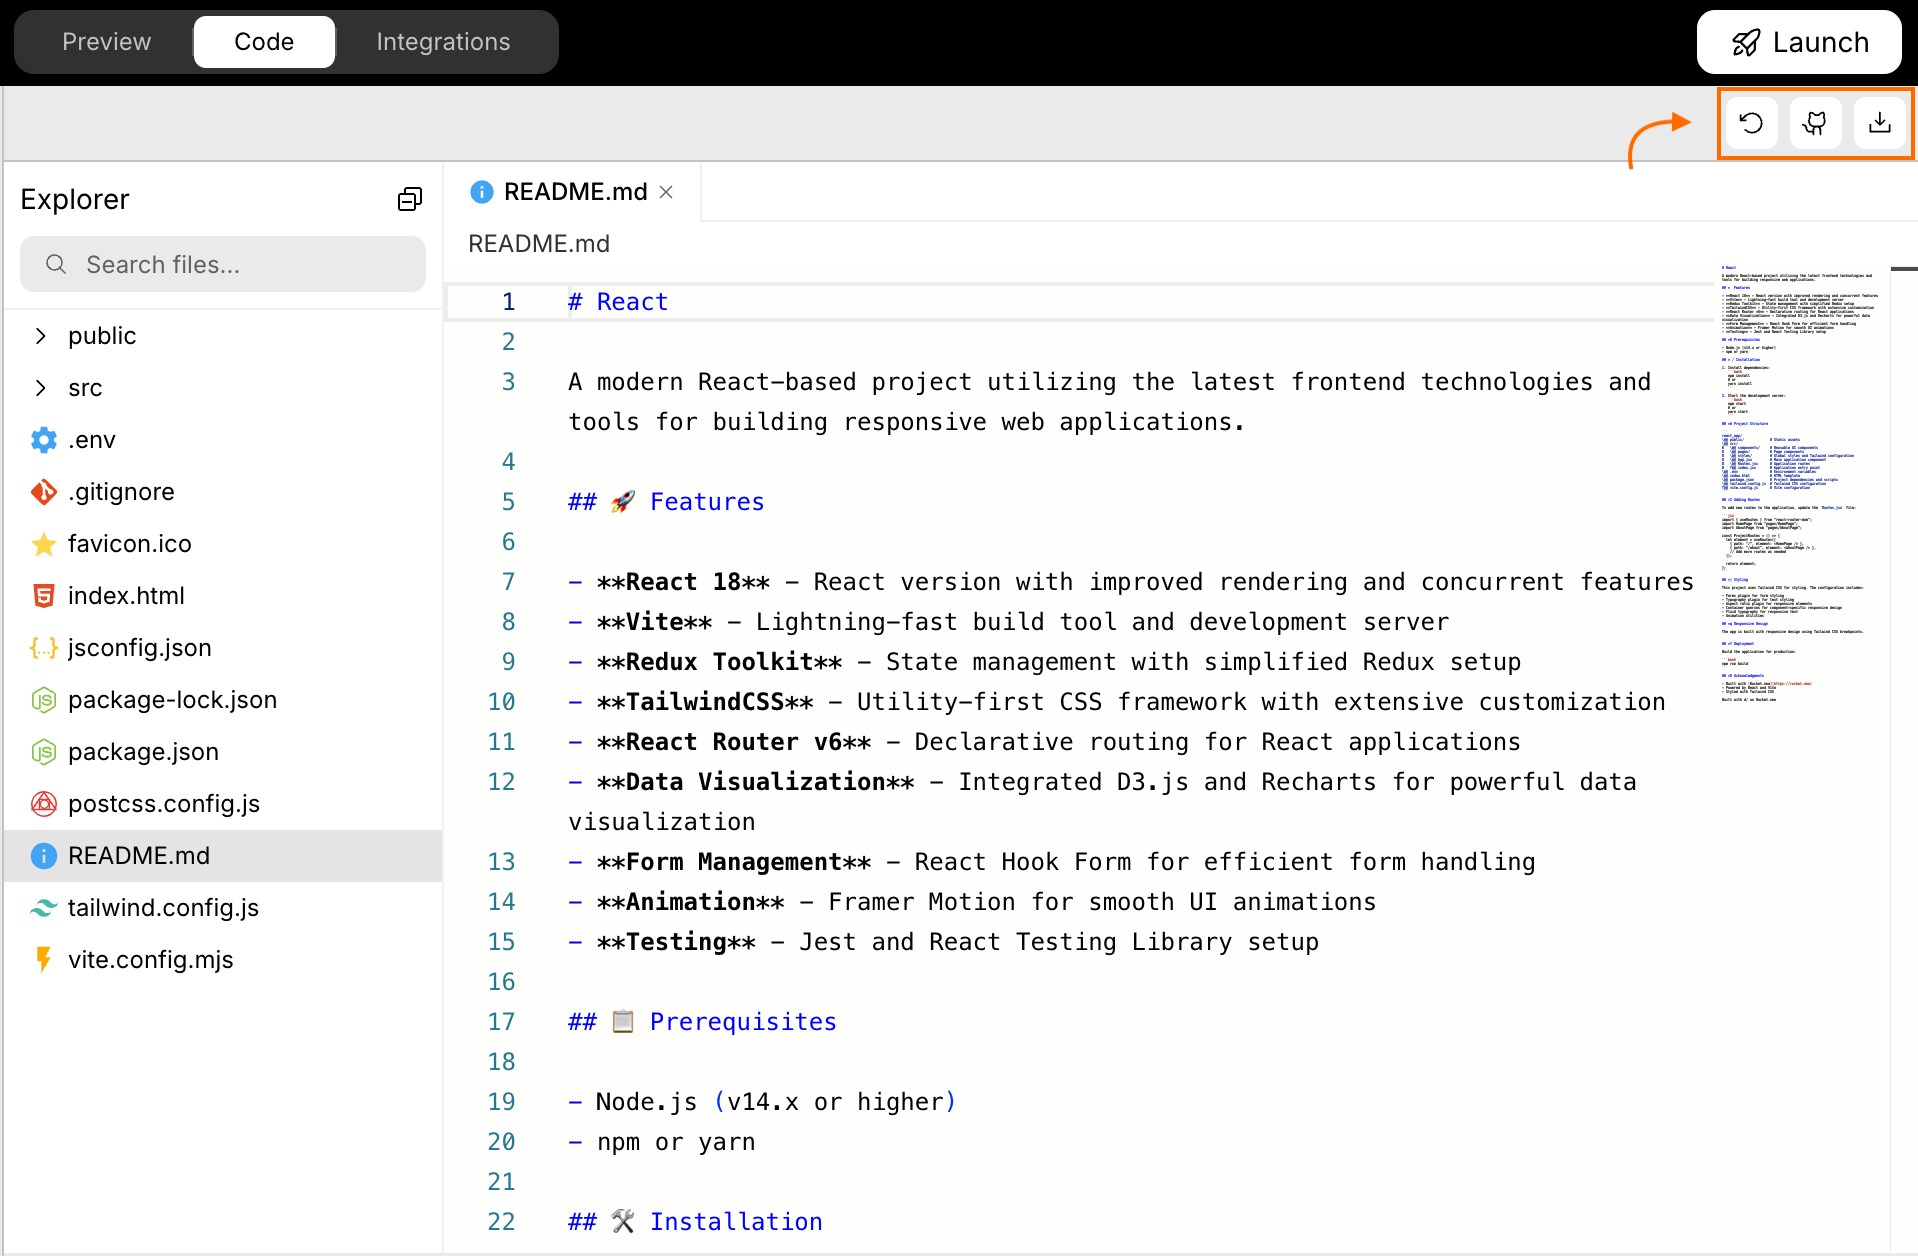
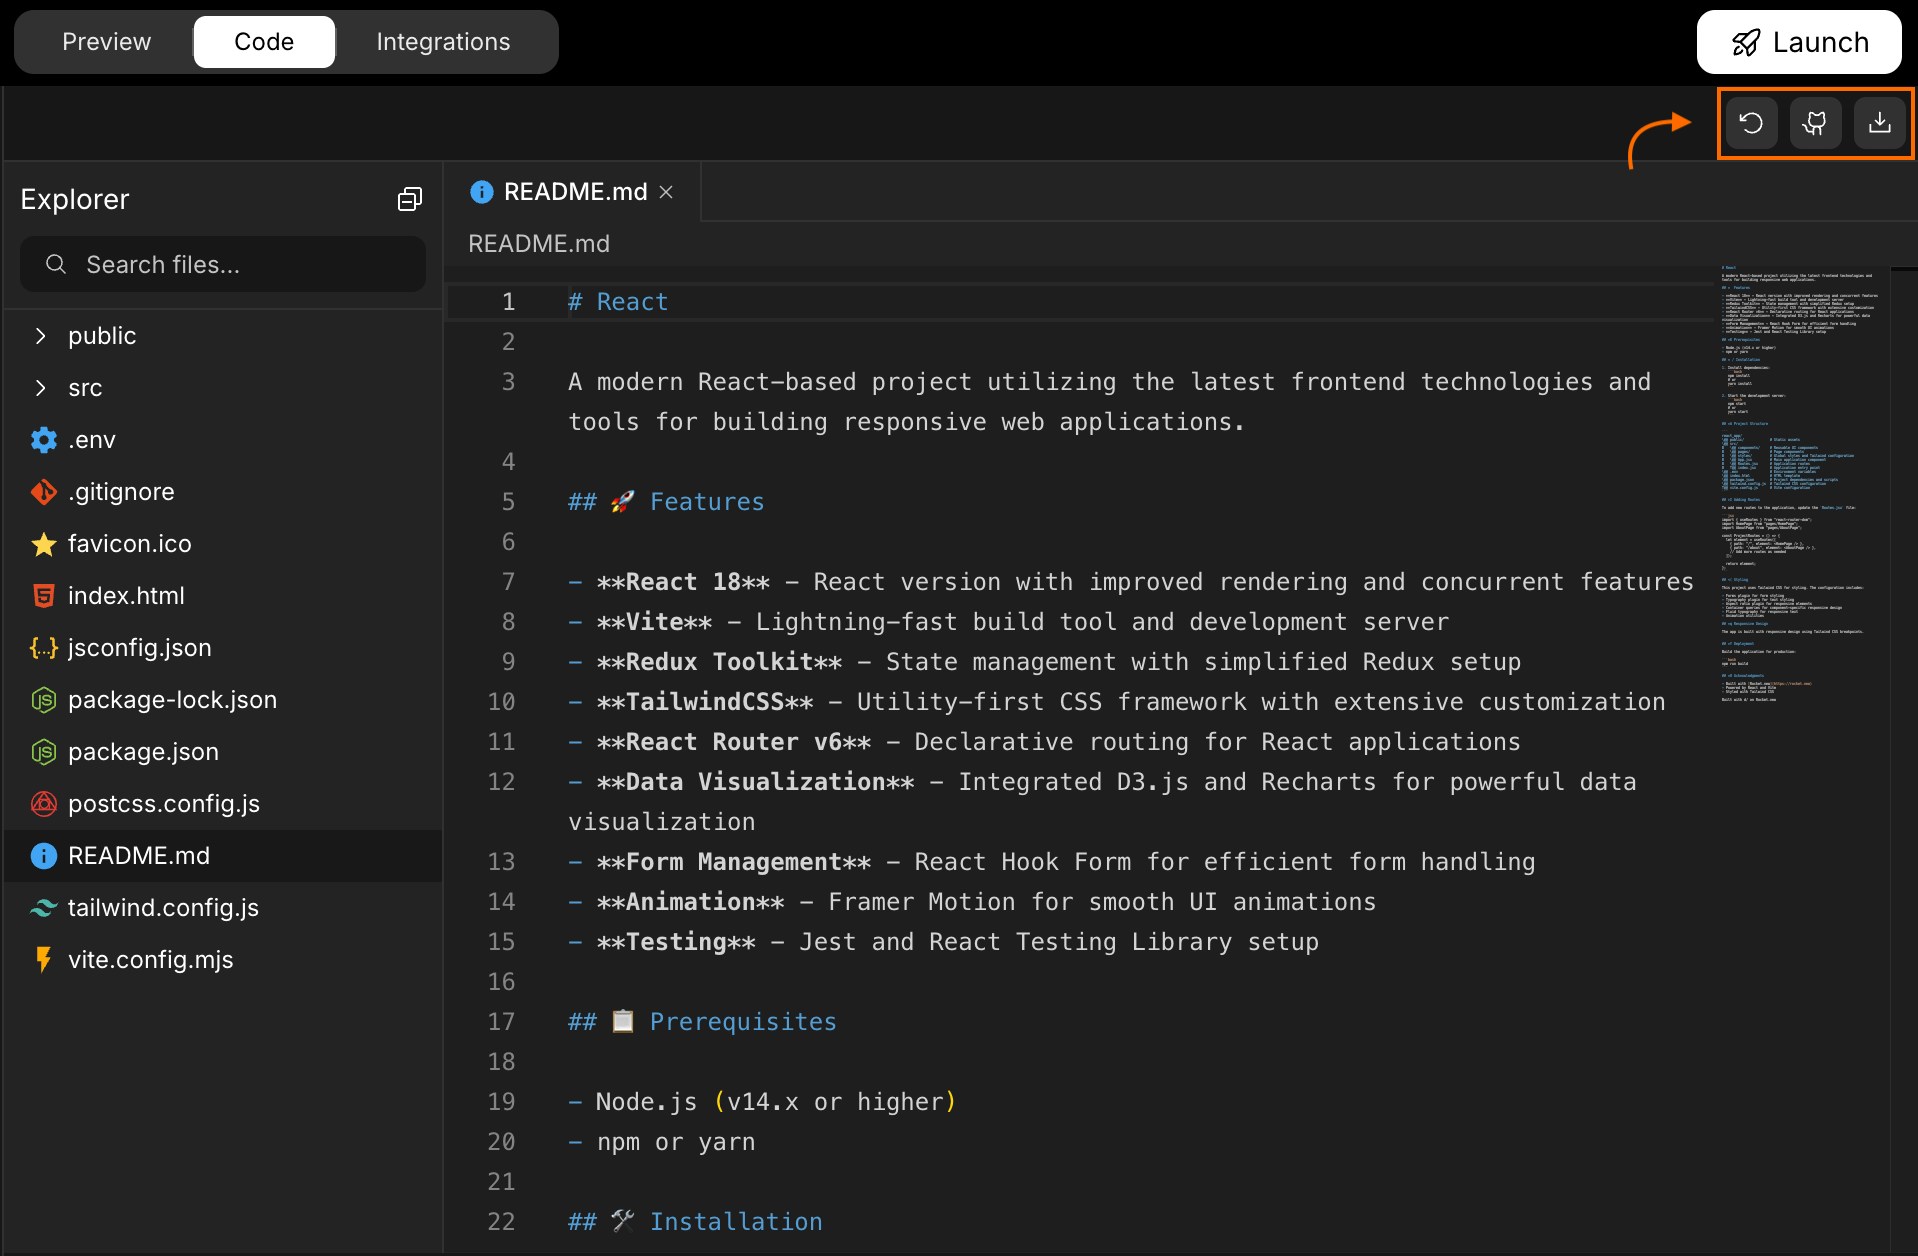
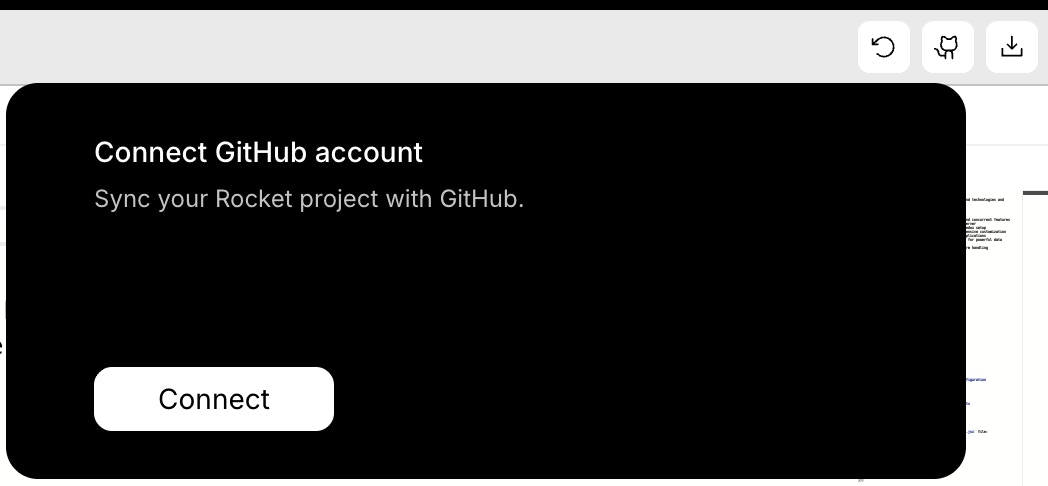
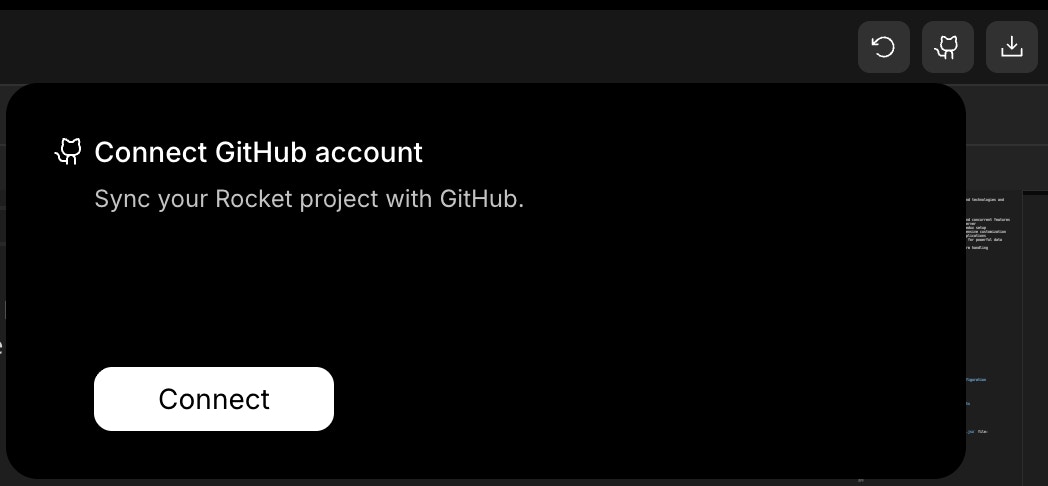
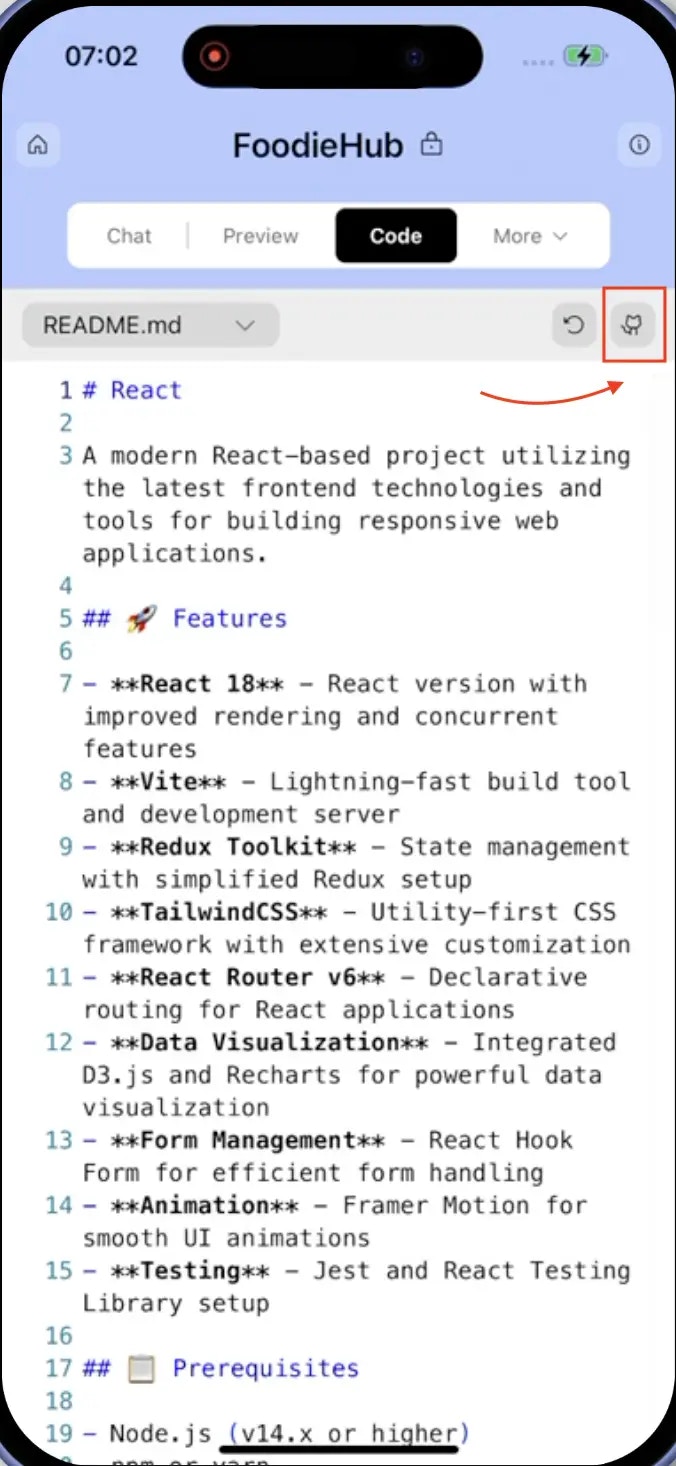
- Click the GitHub icon: in the top-right toolbar of the code-view.
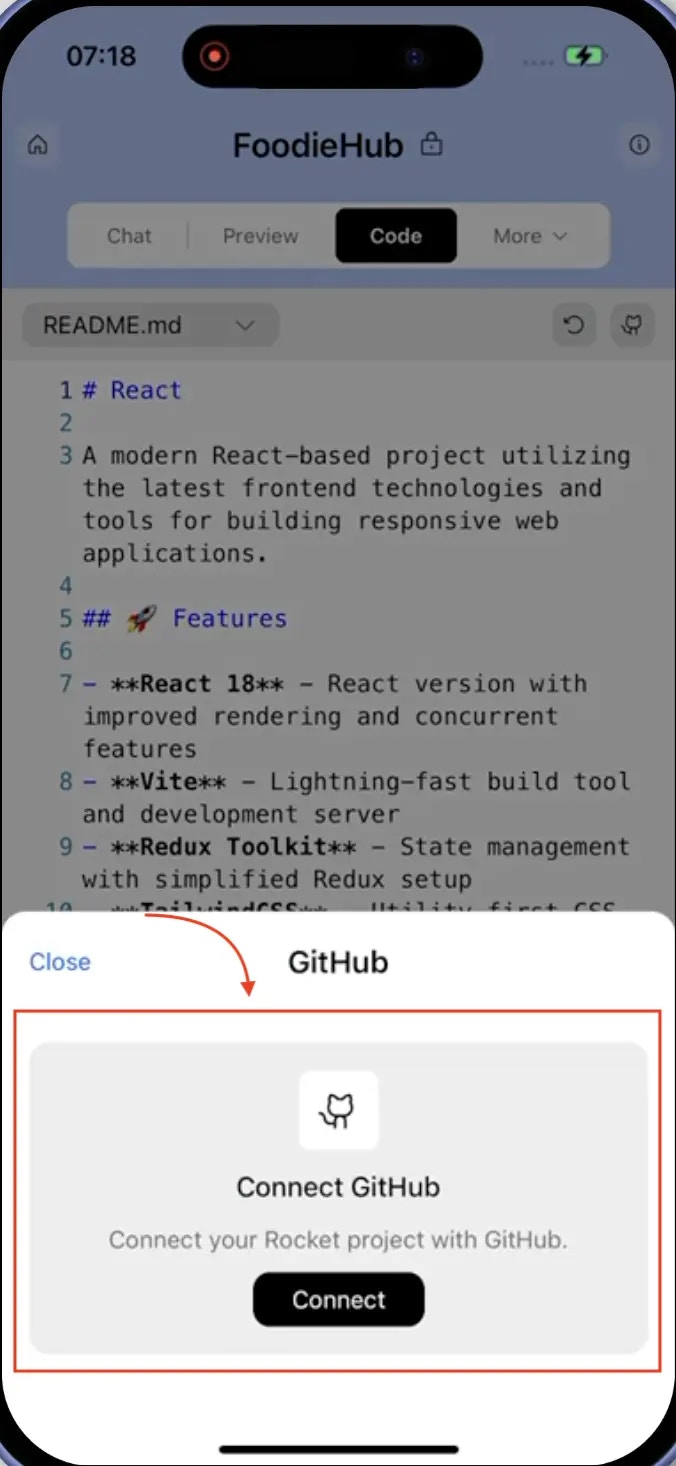
- A popup will appear prompting you to connect your GitHub account.
- Click the Connect button to begin.
Authorize Rocket through GitHub
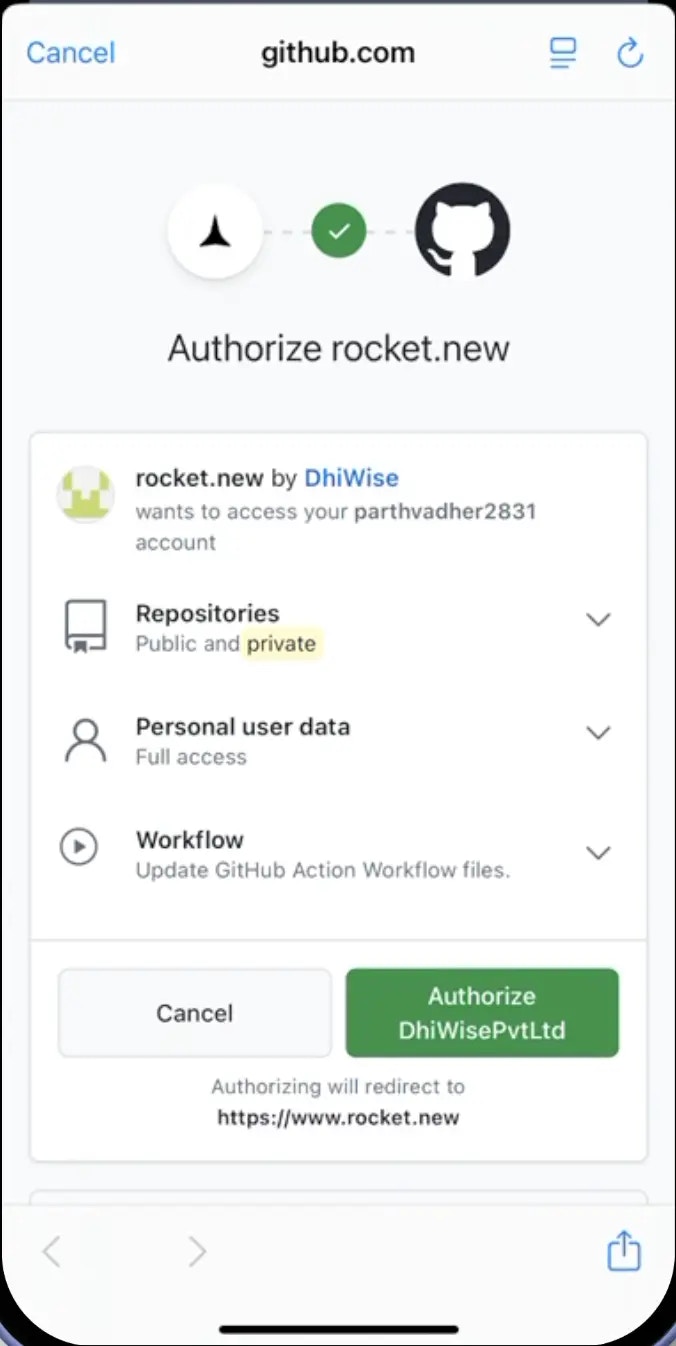
After clicking Connect, you will be redirected to GitHub’s authorization screen.- Sign in to GitHub (if not signed in).
- Review the list of permissions.
- Click Authorize Rocket.new to allow access.
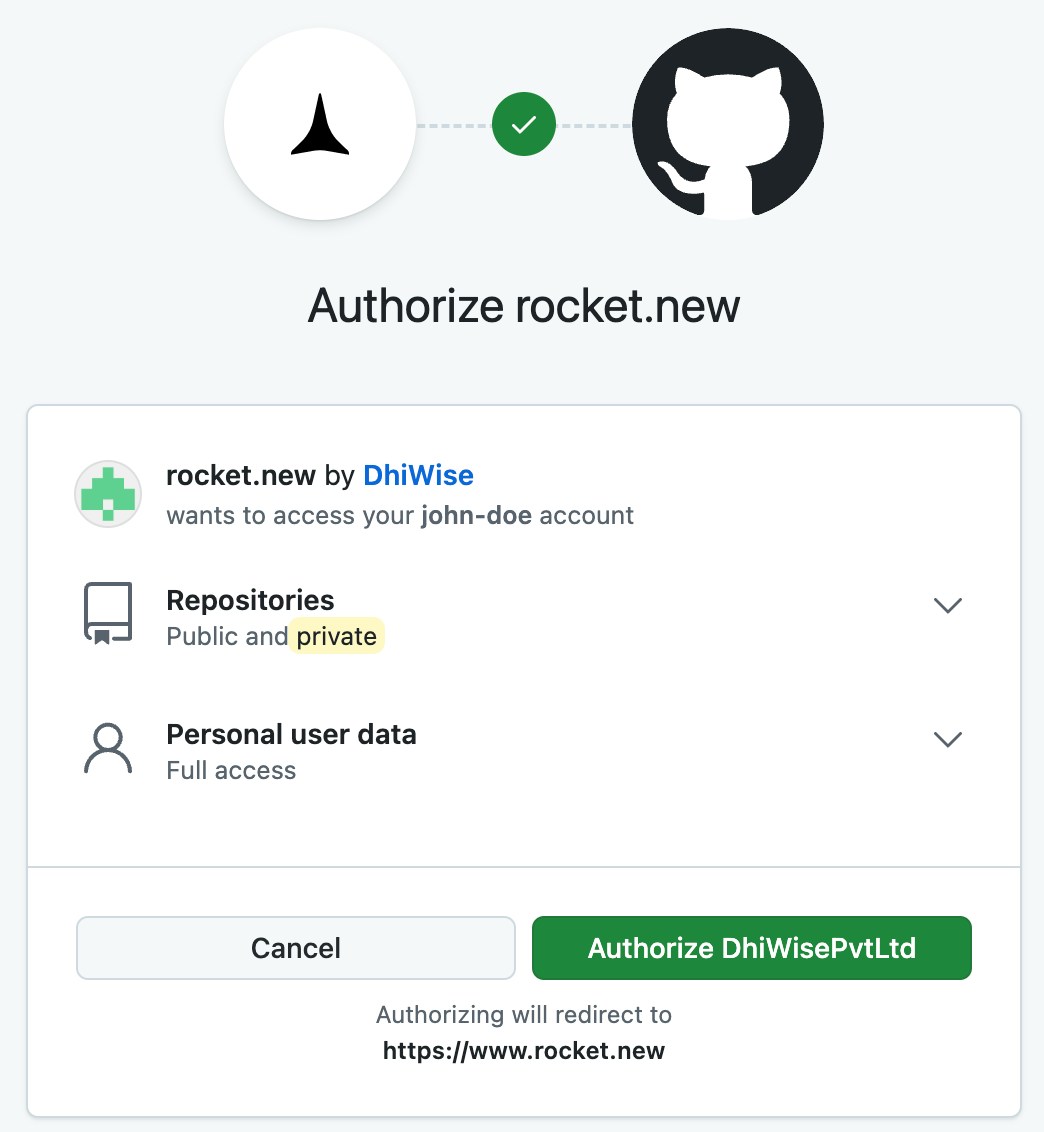
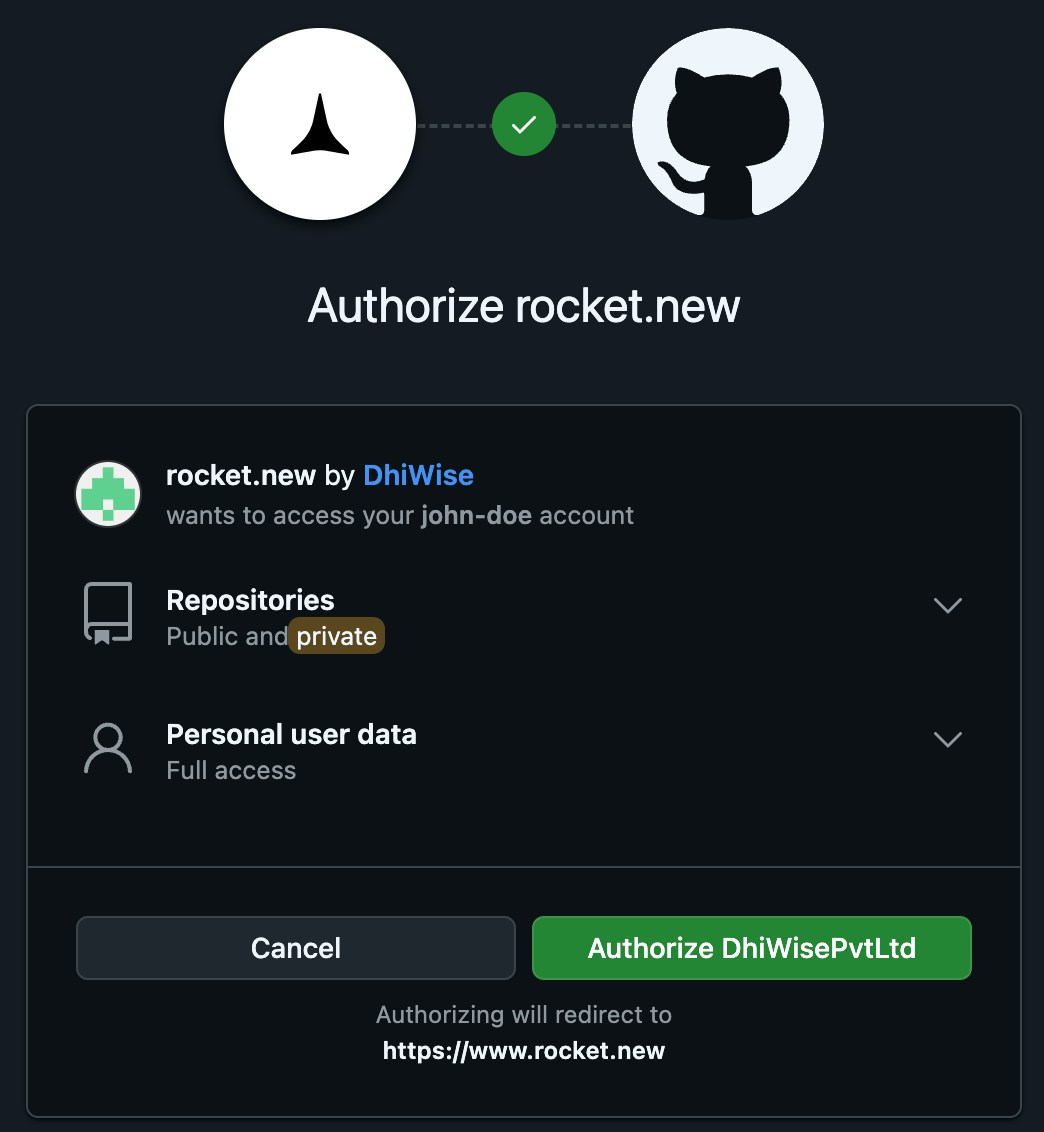
What permissions does Rocket request?
- Create new repositories on your behalf (for pushing projects).
- Read public and private repo names and metadata.
- Access your GitHub username and email address.
Update or disconnect
- Go to Account Settings > Integrations.
- Click Disconnect next to GitHub to remove the connection.
- To switch accounts, disconnect and reconnect with a different GitHub account.
How to push code
All GitHub actions happen through the Code View UI:- Open your project and switch to Code View.
- Click the GitHub icon in the toolbar.
- Choose an existing repository or create a new one.
- Click Push to send your project code to GitHub.
Tips and limitations
- Two-way sync for Next.js. After pushing a Next.js project, the option switches to Pull from GitHub so you can import external changes back into Rocket.
- One-way sync for other frameworks. Non-Next.js projects support push only. Edits made directly in GitHub will not sync back to Rocket. Always make changes in Rocket first, then push.
- Repository naming. Rocket can create new repos or push to existing ones. Choose a clear, descriptive name so your projects are easy to find.
- Public vs. private. Public repos are visible to everyone and great for portfolios. Private repos keep your code hidden and are better for client work or proprietary projects.
- When to push. Push before deploying, after major milestones, or anytime you want a backup. There is no automatic sync, so push manually when you are ready.
- Permissions are scoped. Rocket only requests access to create repos and read metadata. It does not delete repos or modify your existing code on GitHub.
What’s next?
Netlify
Deploy your Rocket app to the web. Works great after pushing code to GitHub.
Code View
Learn more about browsing and managing your project’s source code in Rocket.